 Python Development
 PHP Development
 React Js Development
 Vue Js Development
 Node Js Development
 Angular Development
 Continuous Integration
 Automated Deployment
 Monitoring and Logging
 Security Integration
 Backup and Recovery Automation
 Collaborative Tools Integration
 RPA Strategy and Roadmap
 RPA Tool Selection
 RPA Bot Development
 RPA Maintenance and Support
 Custom RPA Solution
 RPA Vendor Assessment
 AWS Lambda
 Amazon DynamoDB
 AWS CloudFormation
 Azure Deployment
 DNS Mapping
 Data Visualization
 Big Data Processing
 Data Modeling
 Database Administration
 Cloud Data Services
 Data Migration
 ETL Orchestration
 Data Collaboration
 Responsive Web Design
 Web Redesigning
 Mobile App Design
 UI/UX Design
 Wordpress Theme Design
 Online Portfolio Design
 SEO
SEO SMO
SMO PPC
PPC ORM
ORM
Step 1. Add a .htaccess file to your project and paste this code
<IfModule mod_rewrite.c>
    RewriteEngine On
    RewriteBase /
    RewriteRule ^index\.html$ - [L]
    RewriteCond %{REQUEST_FILENAME} !-f
    RewriteCond %{REQUEST_FILENAME} !-d
    RewriteCond %{REQUEST_FILENAME} !-l
    RewriteRule ^ index.html [QSA,L]
</IfModule>
Note:- Make sure that the index.html and the .htaccess file are in the same directory (public folder), if your react app is in another folder, then change the RewriteRule to ./yourFolder/index.html
Step 2. Add your project domain name in the package.json
"homepage": "http://xyz.com/"
Step 3. Now create build of the project.
npm run build
or in case of yarn
yarn run build
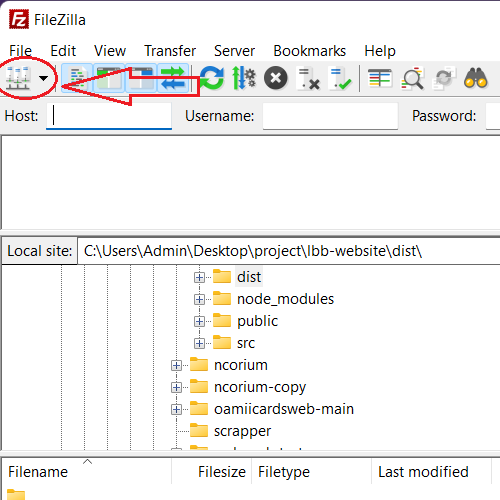
Step 4. Go to filezilla and open site manager
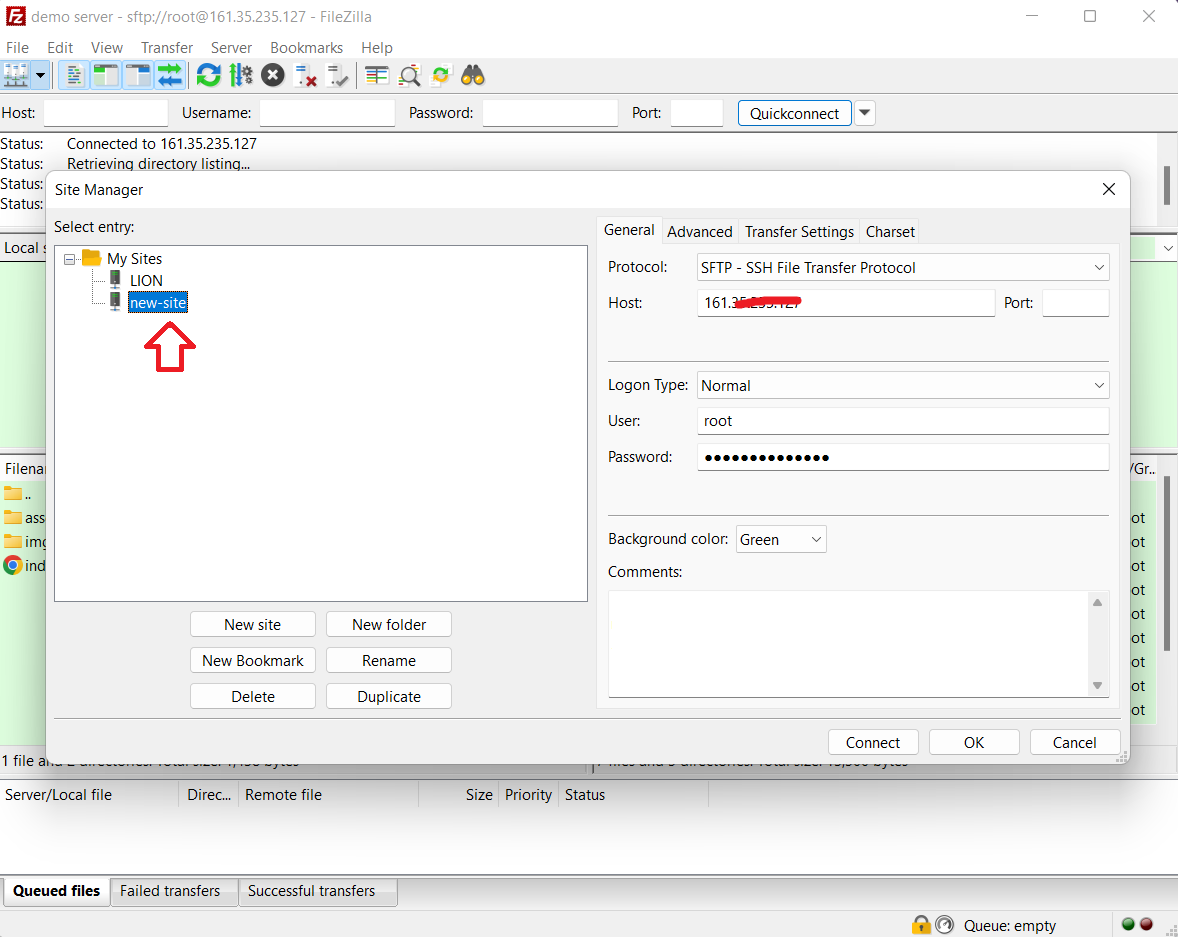
Step 5. Add a new site in the site manager and enter your server credentials into it. After adding credentials click on connect
Step 6. Once you are connected to the serve you will see a window like this
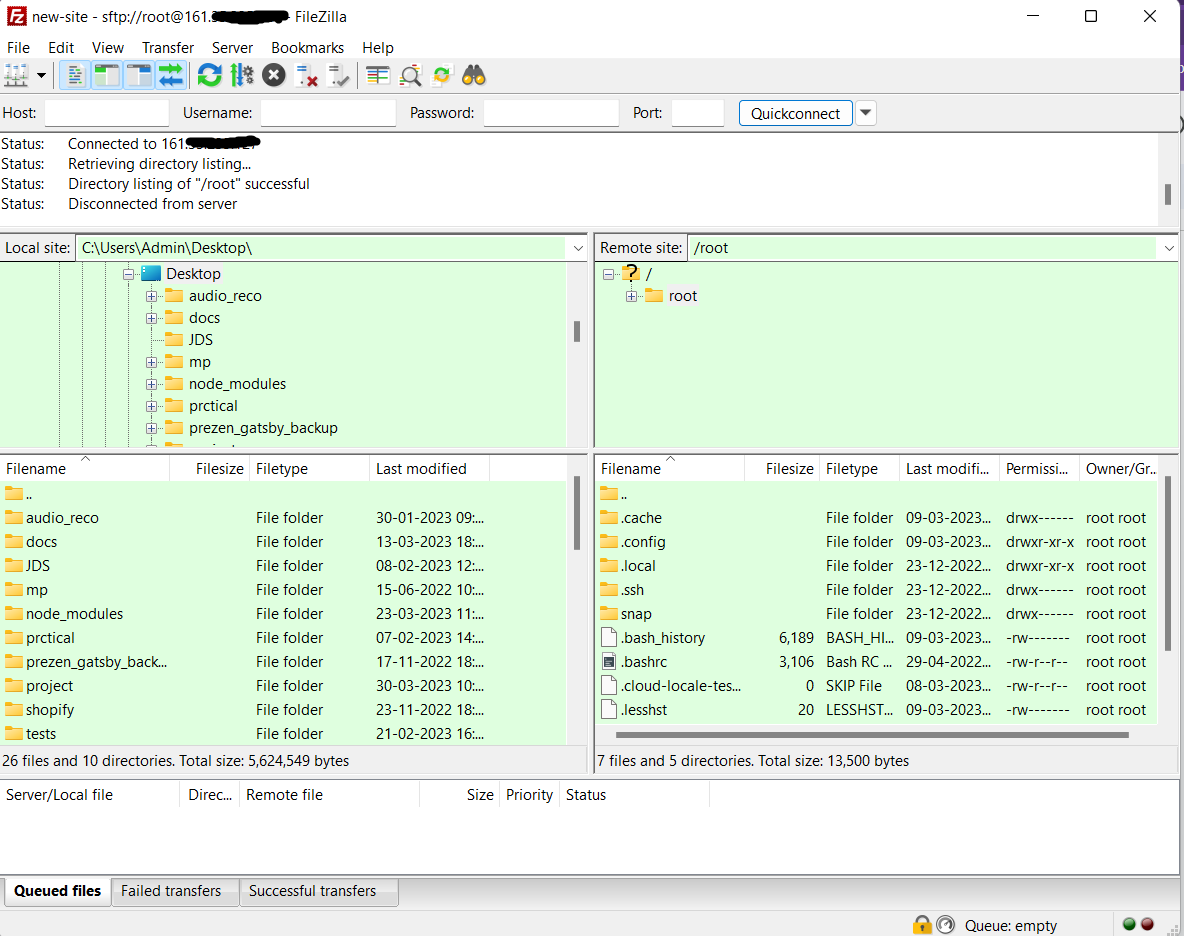
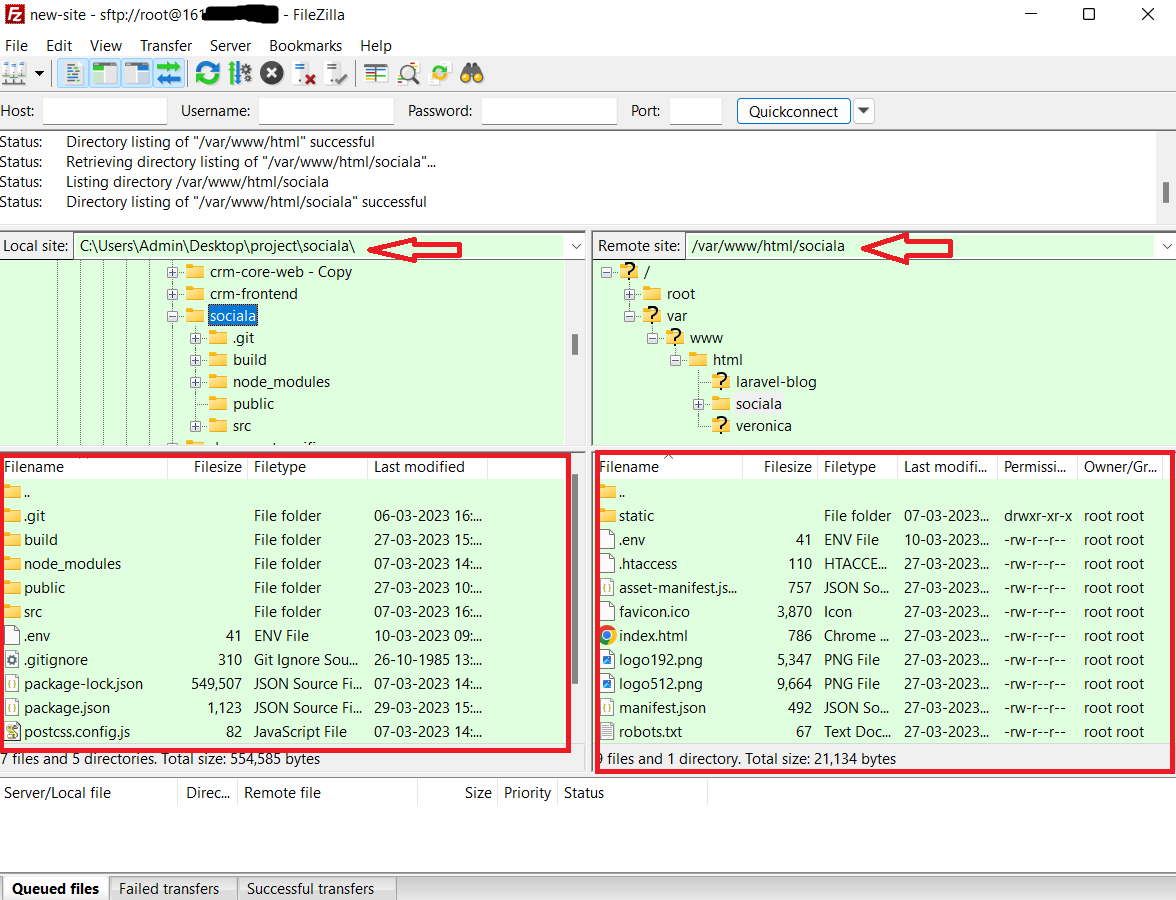
Now in the Remote site go to the directory where you want to host your application. In my case I added my directory into var/www/html/
Step 7. Go to the directory and add a new directory for your application

Step 8. Now go to the new directory (Sociala in my case) and upload your build files inside it along with the .htaccess file.
Pick build files from local site and upload to remote site as shown in below image.