 Python Development
 PHP Development
 React Js Development
 Vue Js Development
 Node Js Development
 Angular Development
 Continuous Integration
 Automated Deployment
 Monitoring and Logging
 Security Integration
 Backup and Recovery Automation
 Collaborative Tools Integration
 RPA Strategy and Roadmap
 RPA Tool Selection
 RPA Bot Development
 RPA Maintenance and Support
 Custom RPA Solution
 RPA Vendor Assessment
 AWS Lambda
 Amazon DynamoDB
 AWS CloudFormation
 Azure Deployment
 DNS Mapping
 Data Visualization
 Big Data Processing
 Data Modeling
 Database Administration
 Cloud Data Services
 Data Migration
 ETL Orchestration
 Data Collaboration
 Responsive Web Design
 Web Redesigning
 Mobile App Design
 UI/UX Design
 Wordpress Theme Design
 Online Portfolio Design
 SEO
SEO SMO
SMO PPC
PPC ORM
ORM
Introduction
Here we learn what is wordpress , how to install it and what is plugins , how to install and integrate acf plugin .
WordPress is a free, open-source website creation platform. On a more technical level, WordPress is a content management system (CMS) written in PHP that uses a MySQL database. In non-geek speak, WordPress is the easiest and most powerful blogging and website builder in existence today.The software doesn’t cost anything. Anyone can install, use, and modify it for free.
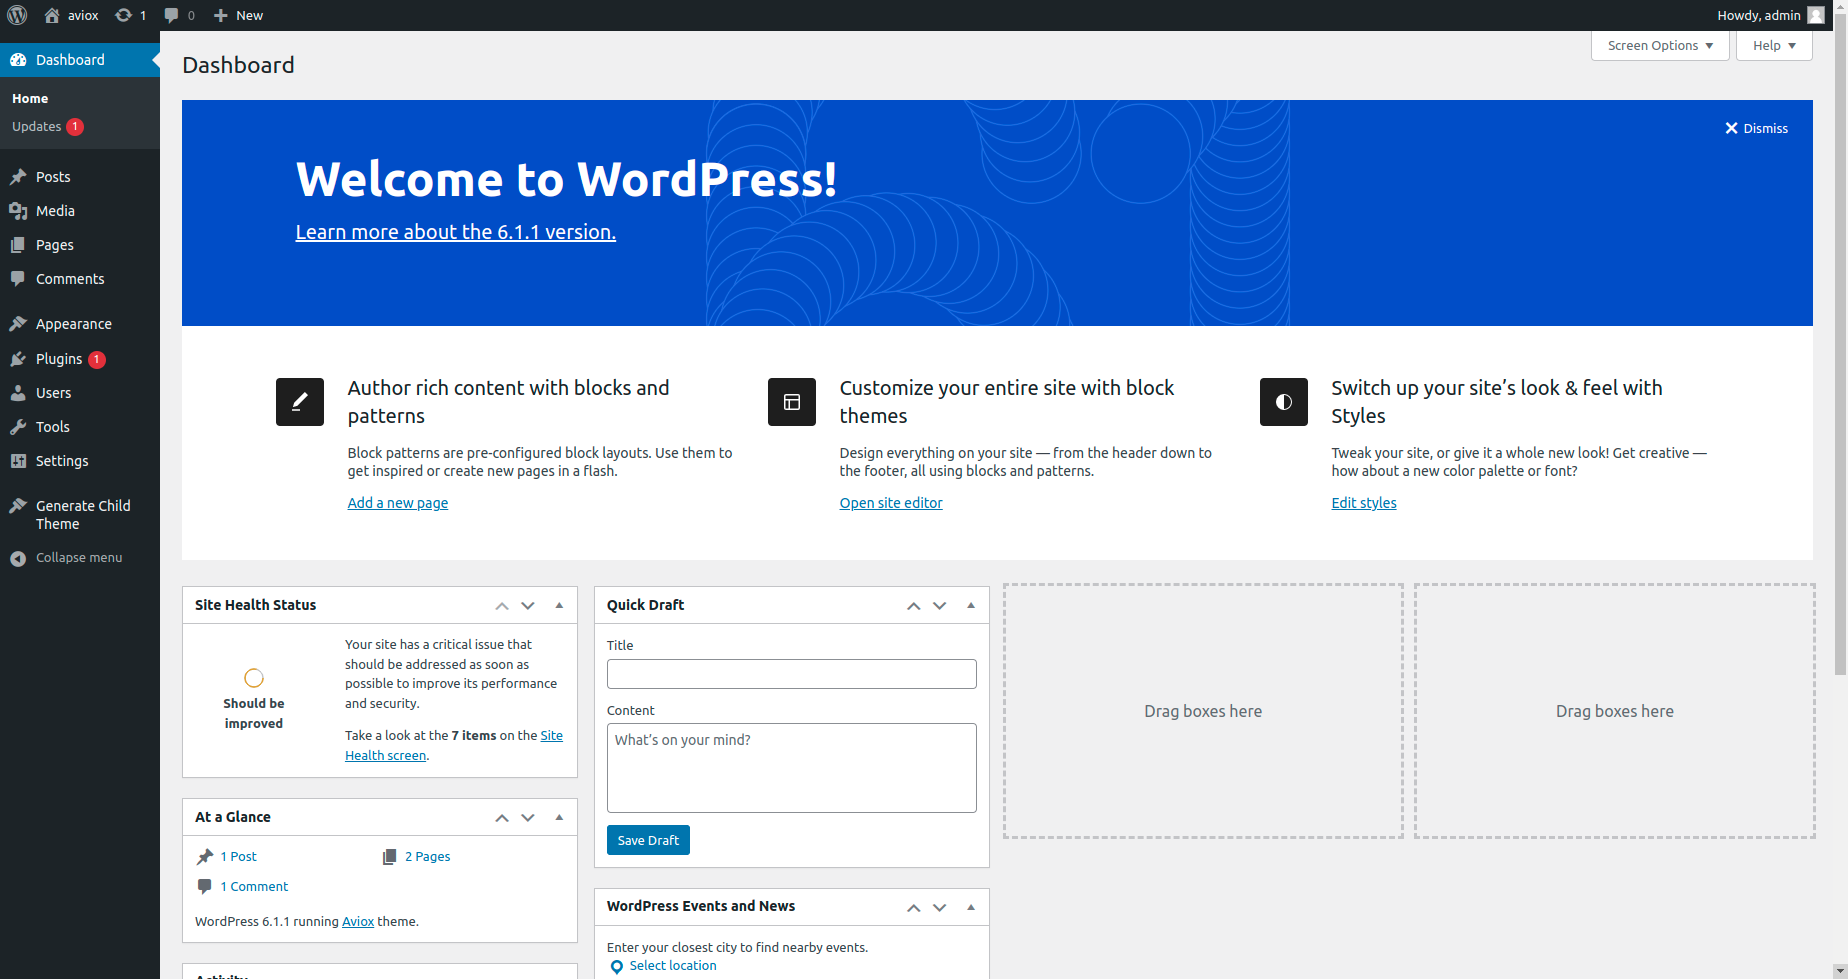
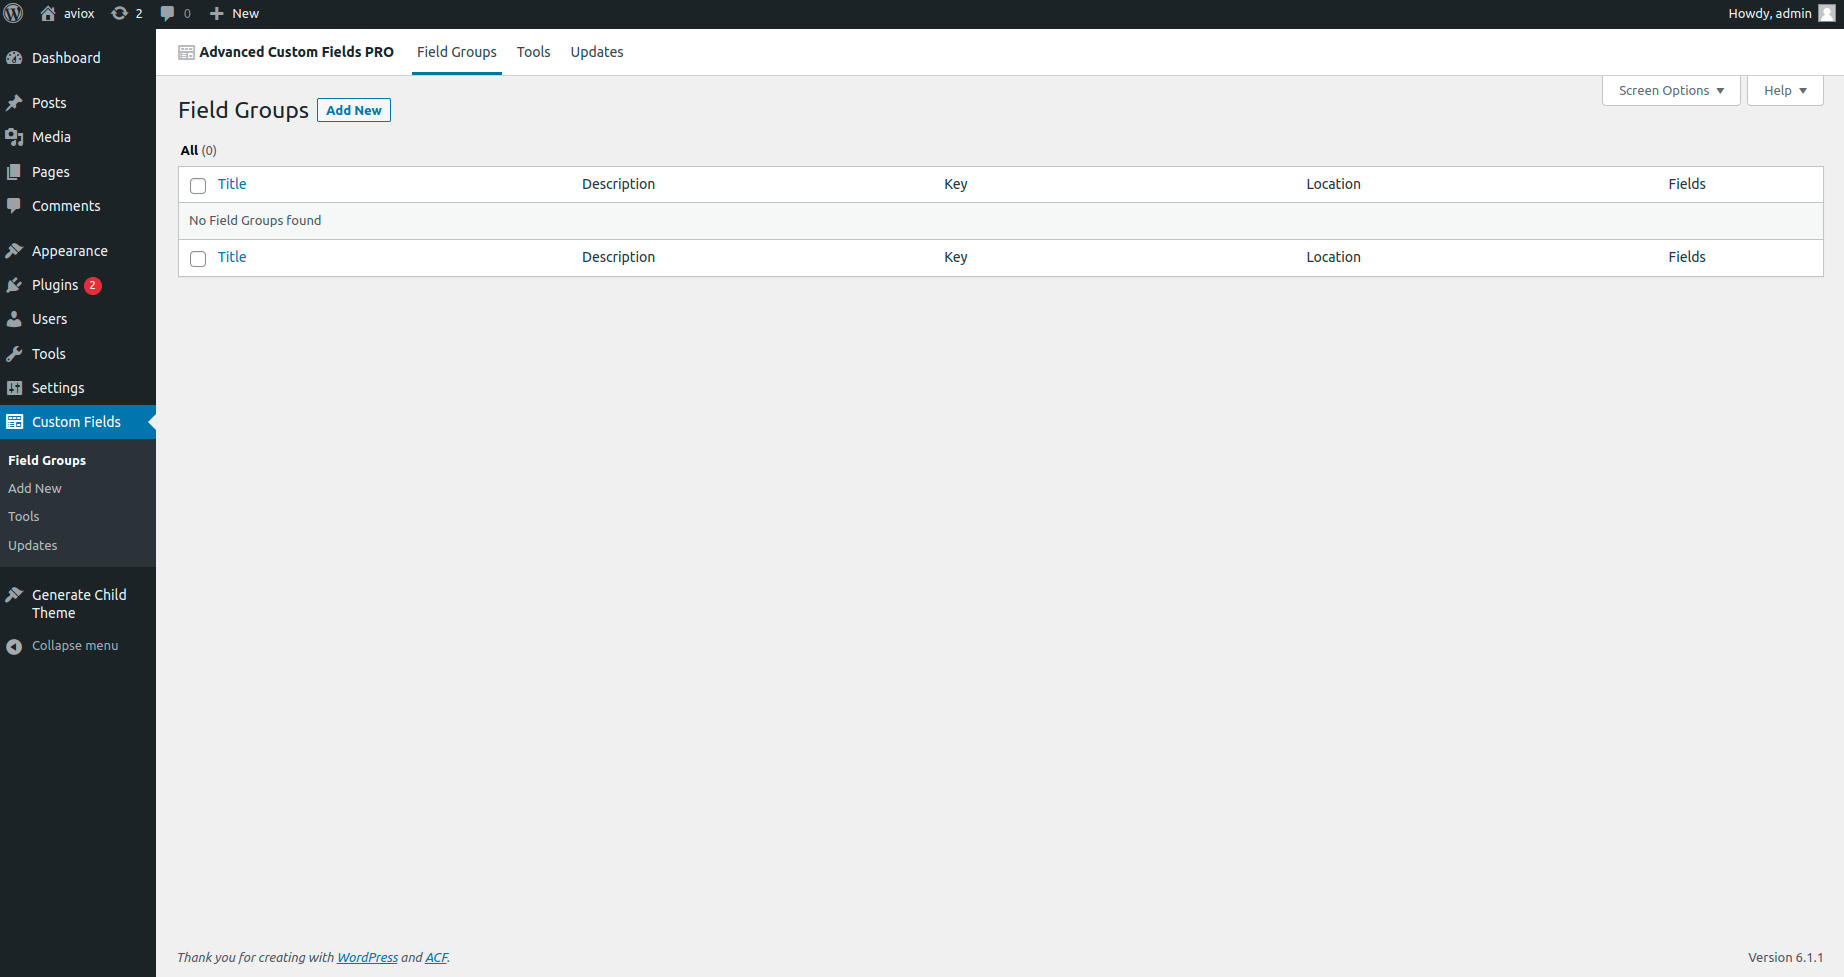
Here is admin dashboard of wordpress
Download and install wordpress
Download wordpress
You can download latest version of worpress form this official site of wordpress. Here is link https://wordpress.org/download/ .
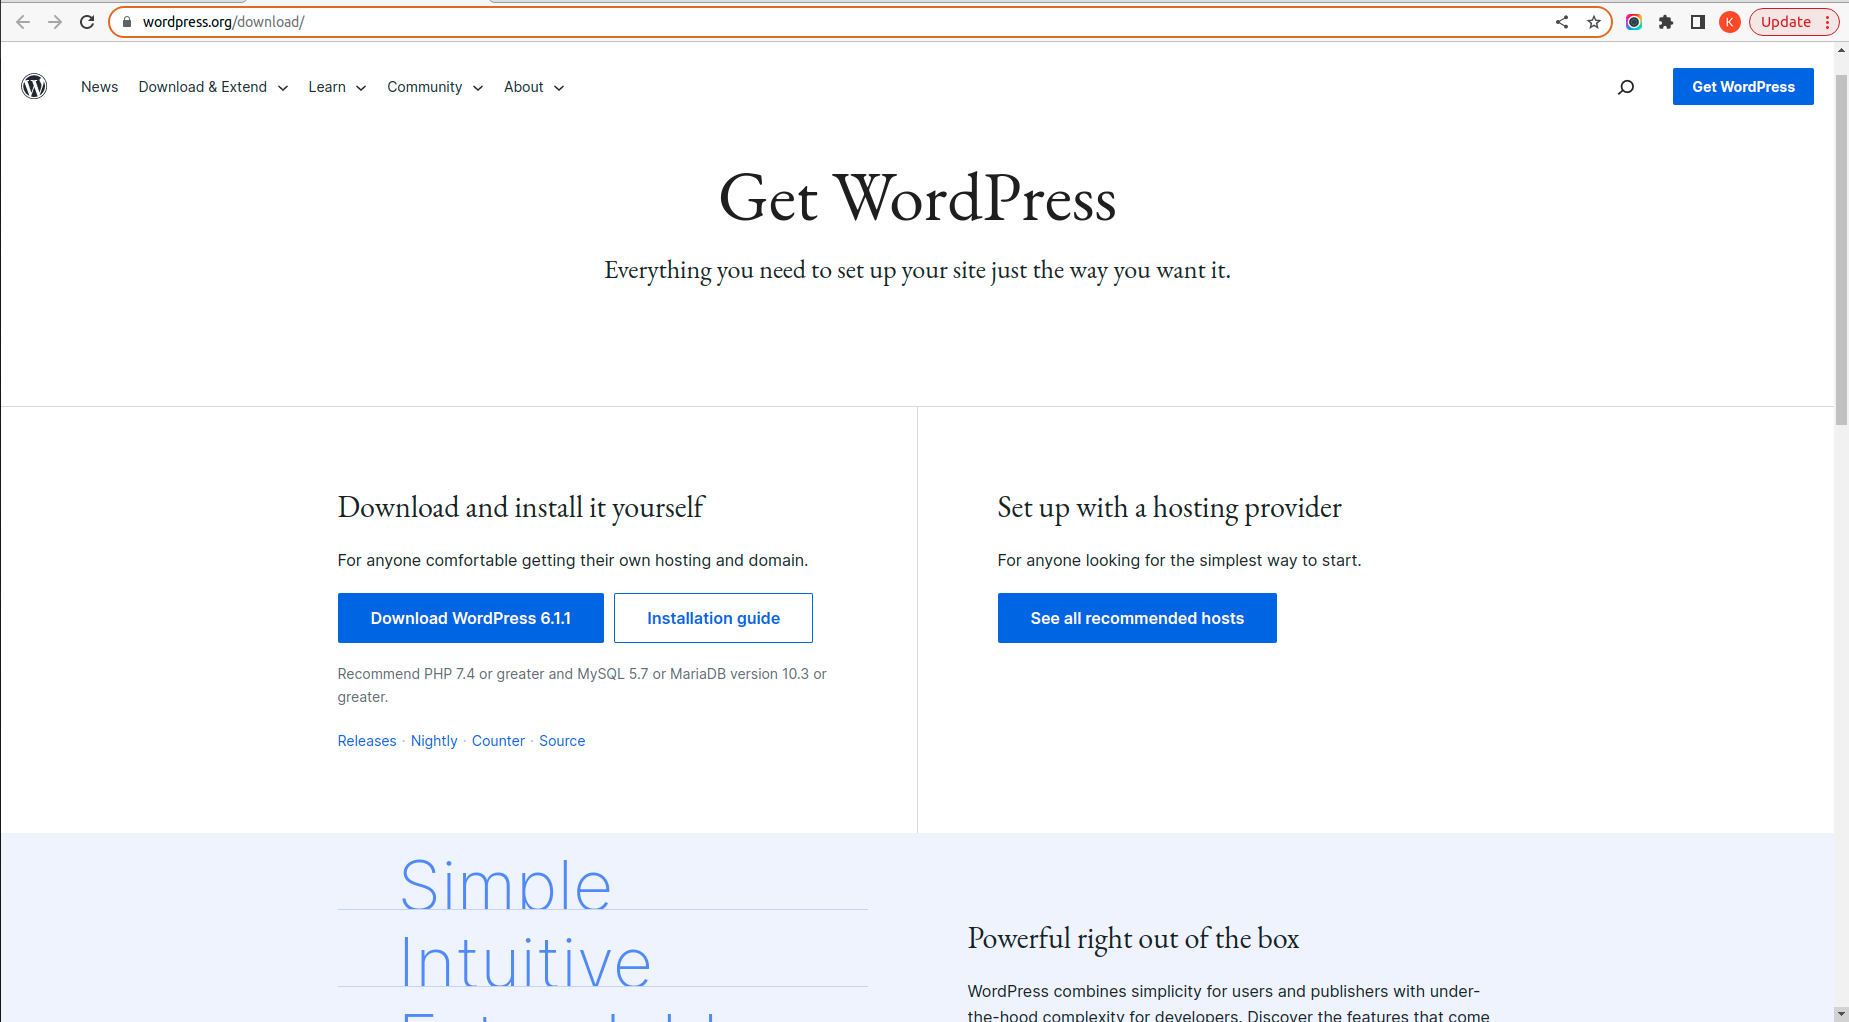
From here you can download it. When you click on download wordpress button , zip file of wordpress download in you system.
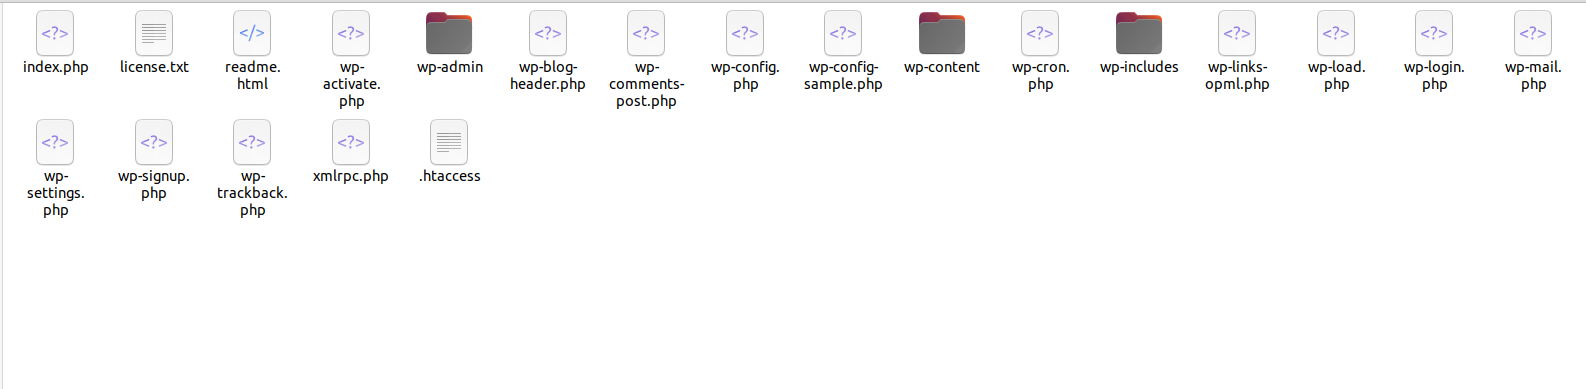
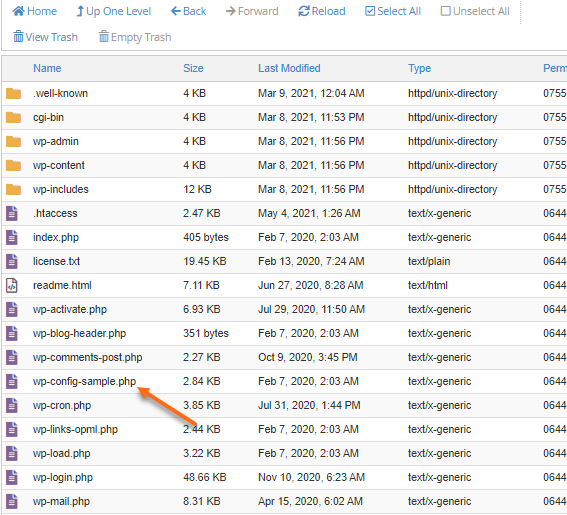
Move this zip file in htdocs folder where you install xmapp. Extract zip here. Here you see wordpress folder. You can rename the wordpress folder as your project name. I am rename it aviox. When you open aviox folder you will see these files.
Install wordpress
Install in local-:
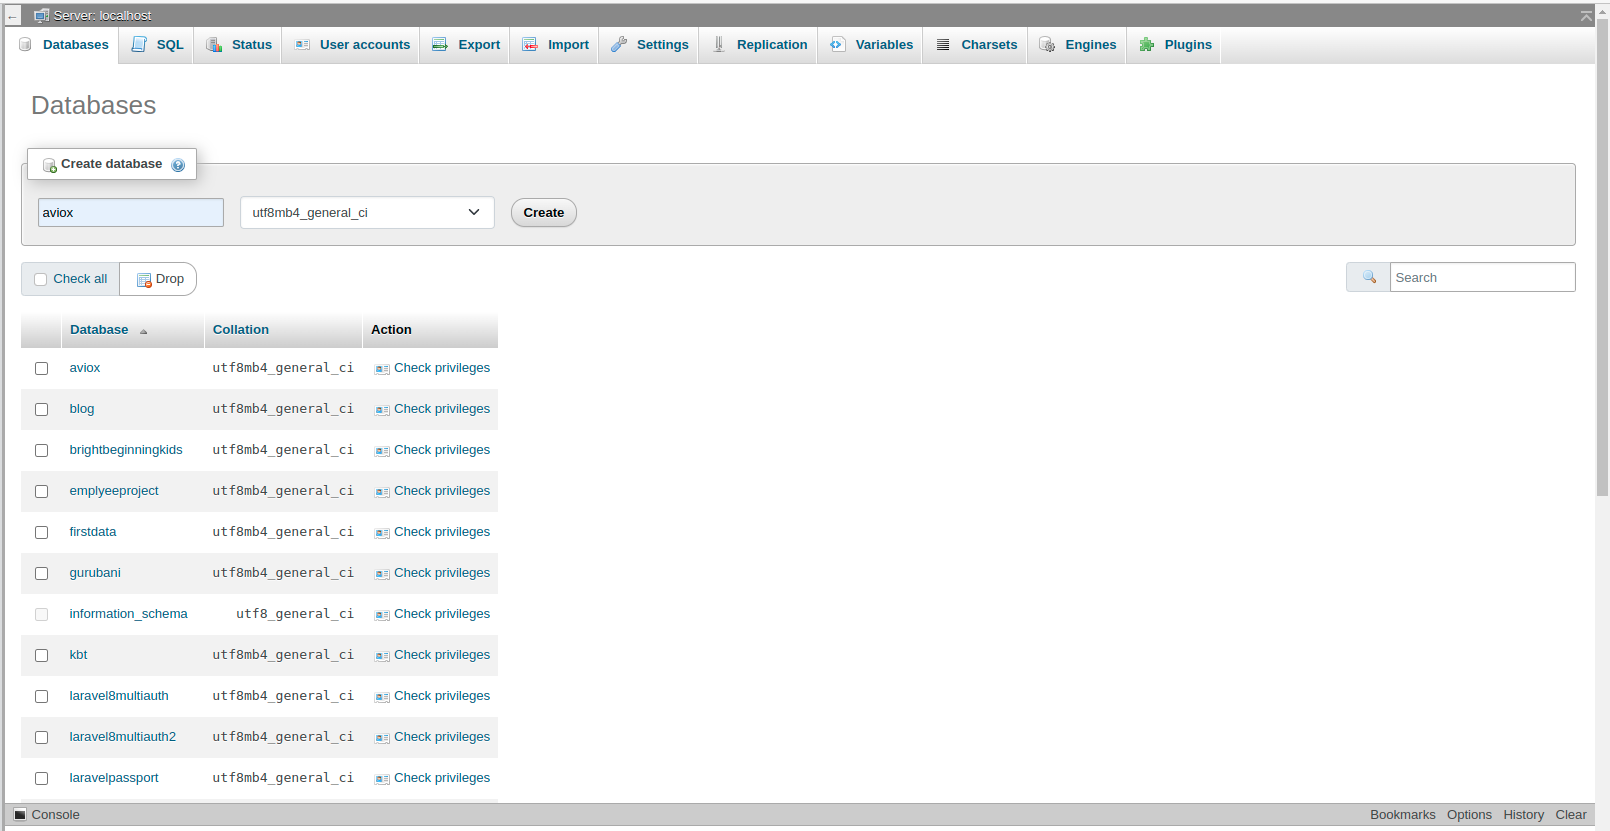
If you install wordpress on local , first you have to run xmapp server on local. Then open phpmyadmin and create database , i already create database with aviox name.
Now you have run local/your-project-name in browser, like my project name is aviox. You will see screen like this
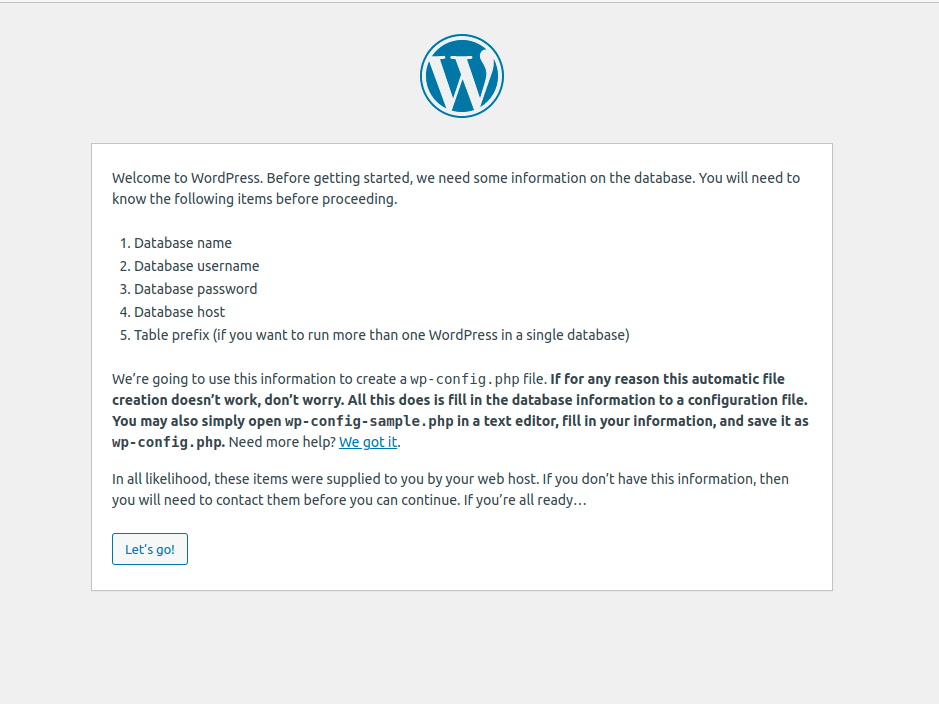
When you click on button let go then you will see , database setup optons , here you add databse name ,username root , password should blank , host name is by default localhost, and table prefix if you want to add .
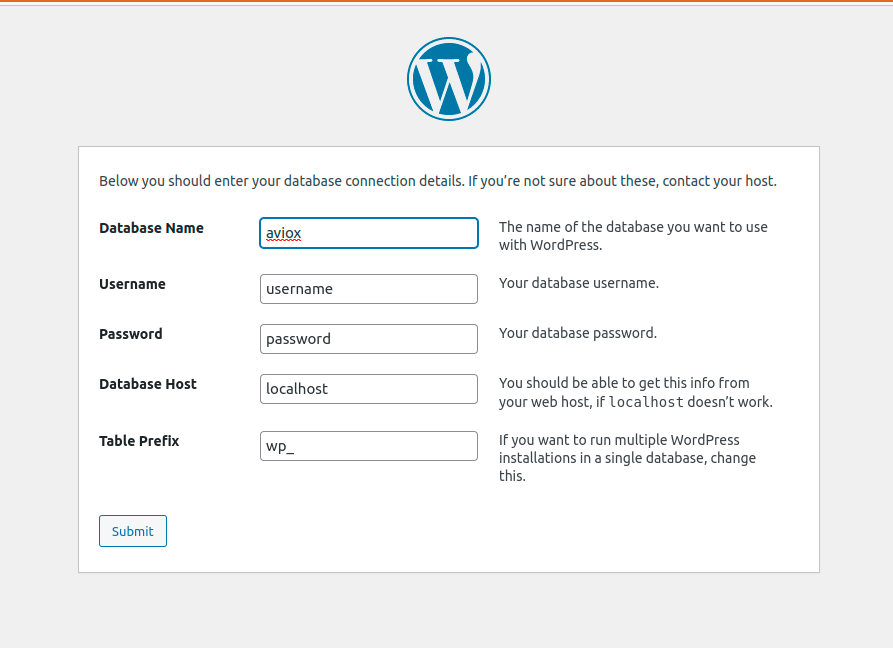
When you fill above options then you will see this screen
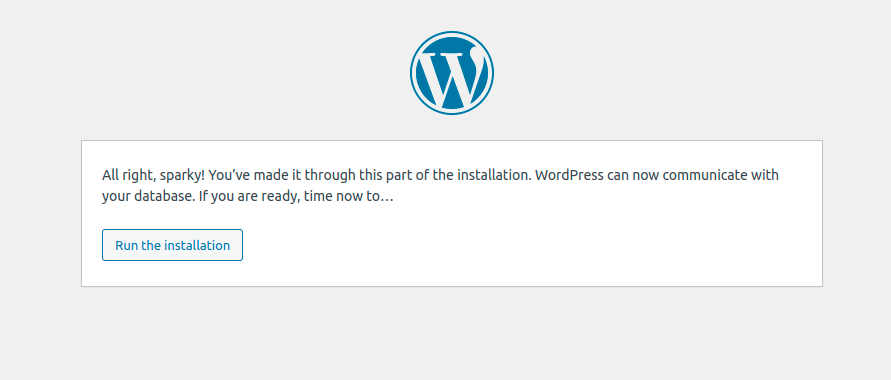
And then run the installation
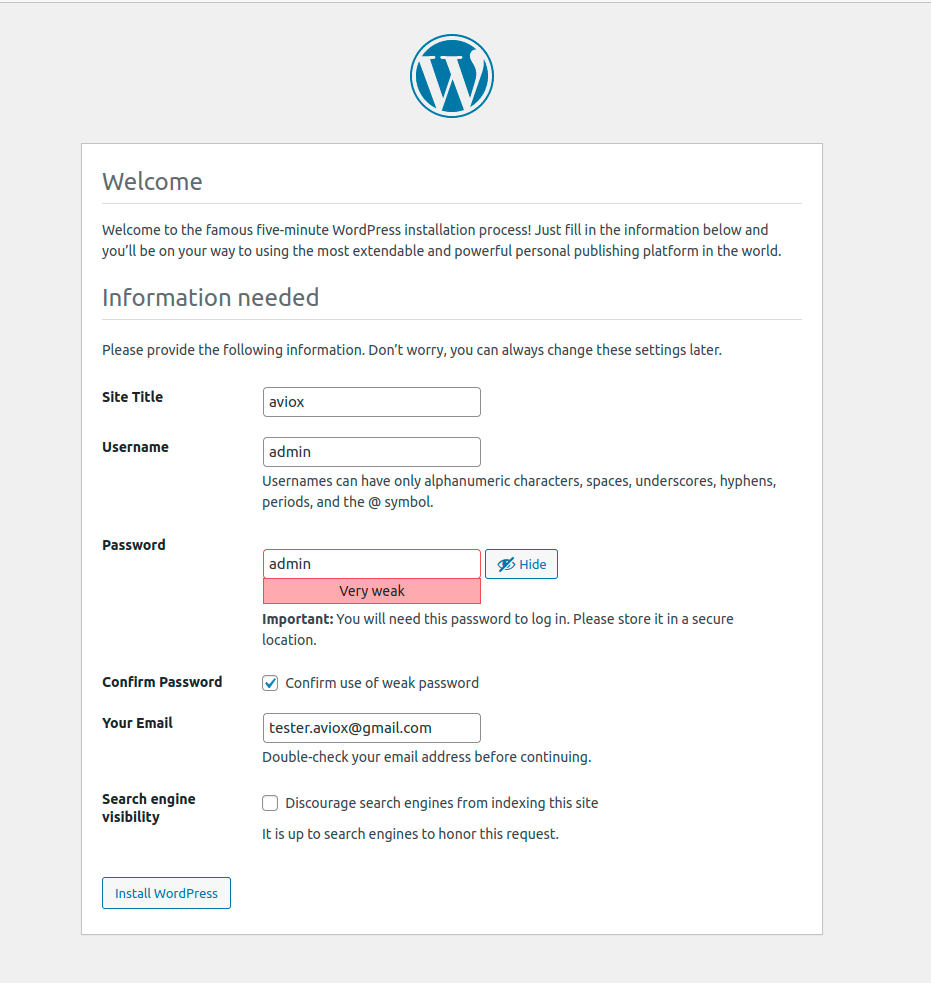
After you will see setup option for wodpress admin . You can enter site name , username and password as you want , then click on install wordpress button . Your wordpress successfully install on your local.
Install on server-:
Upload wordpress zip folder on server and extract zip. After that in wordpress folder wp-config-sample.php file contains the database information and tells the WordPress application from which database to pull data. First rename it wp-config-sample.php to wp-config.php. Then Edit this file and update database credential in it with you server database credential. Save and close it.
Then open a new browser window and enter your domain to run the installation script. Like-:
https://www.aviox.com/
Depending on where you installed the script, you will be automatically redirected to either of the following URLs:
https://www.aviox.com/wp-admin/install.php
And rest setps are same as on local.
Theme setup
After login in admin panel , next step to theme setup . Navigate to Appearance > Themes. You can buy themes from theme or you can use free theme and customize according to your need.
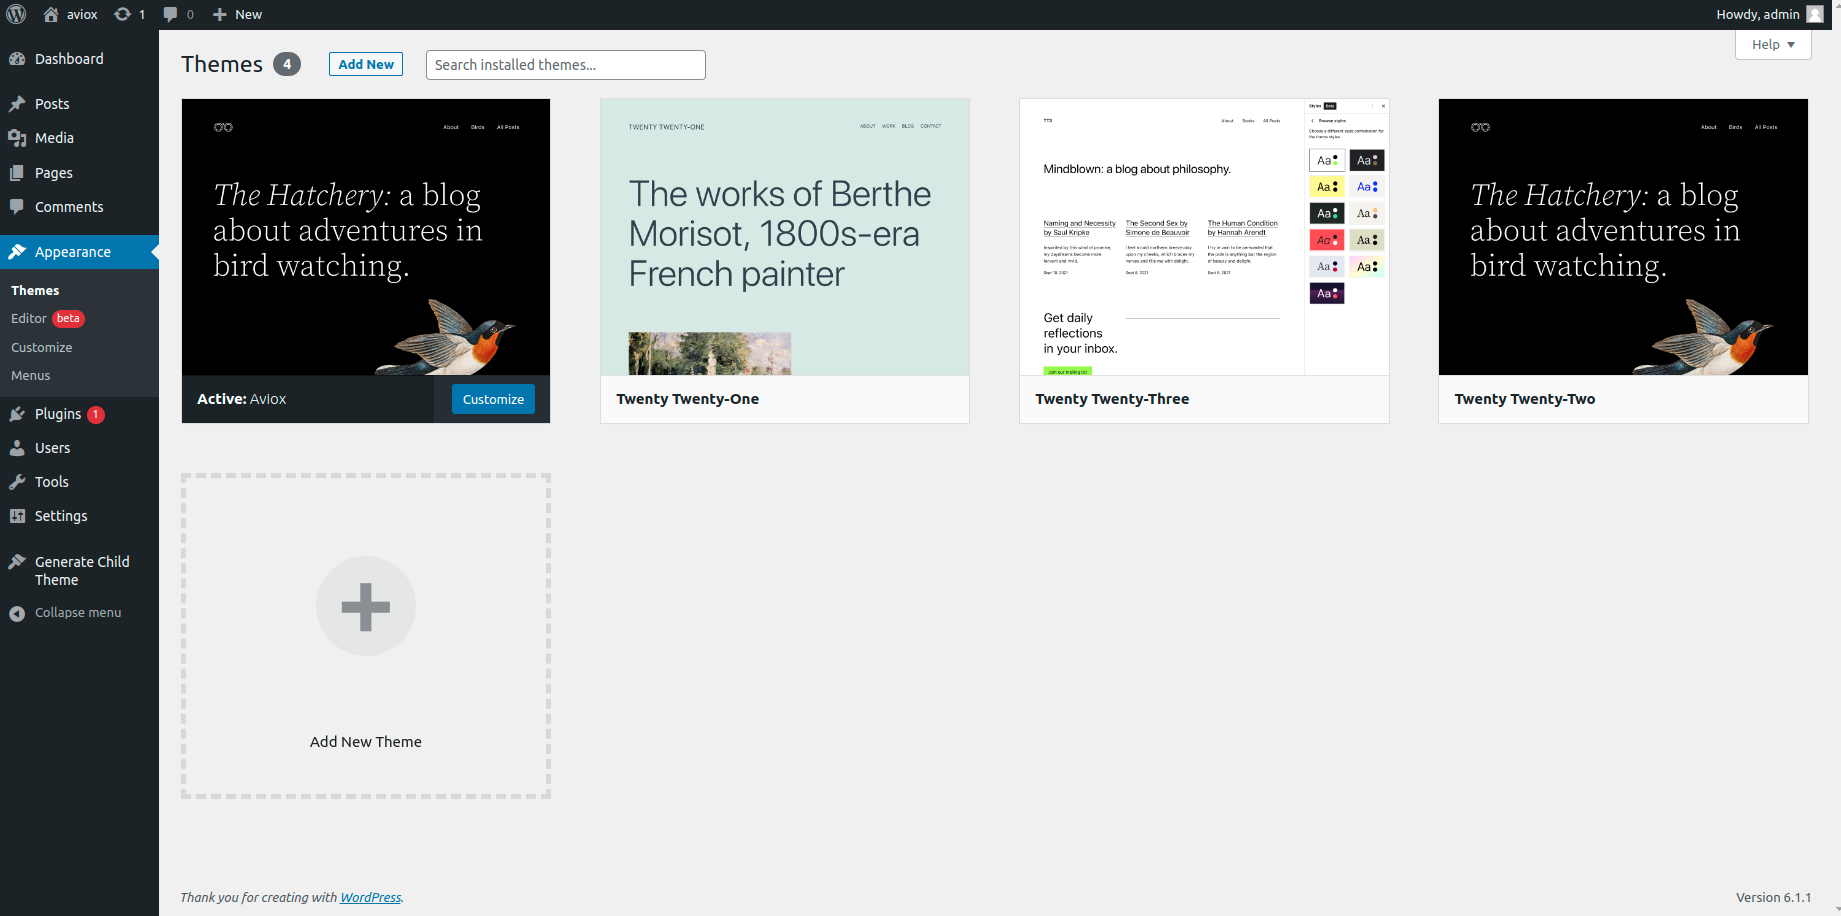
You can choose theme here and activae it .
What is a WordPress Plugin and installation ?
A WordPress plugin is a package of additional code that you can upload to your website to add new features, functionality, or integrations.
Plugins can be added via the Plugins menu in your WordPress dashboard. Using the built-in search function, you can find a free plugin available on the WordPress.org Plugin directory. Plugins can also be packaged as zip files that you upload through the Plugins menu uploader in your WordPress dashboard.
Here you can see all plugin installed on you site :
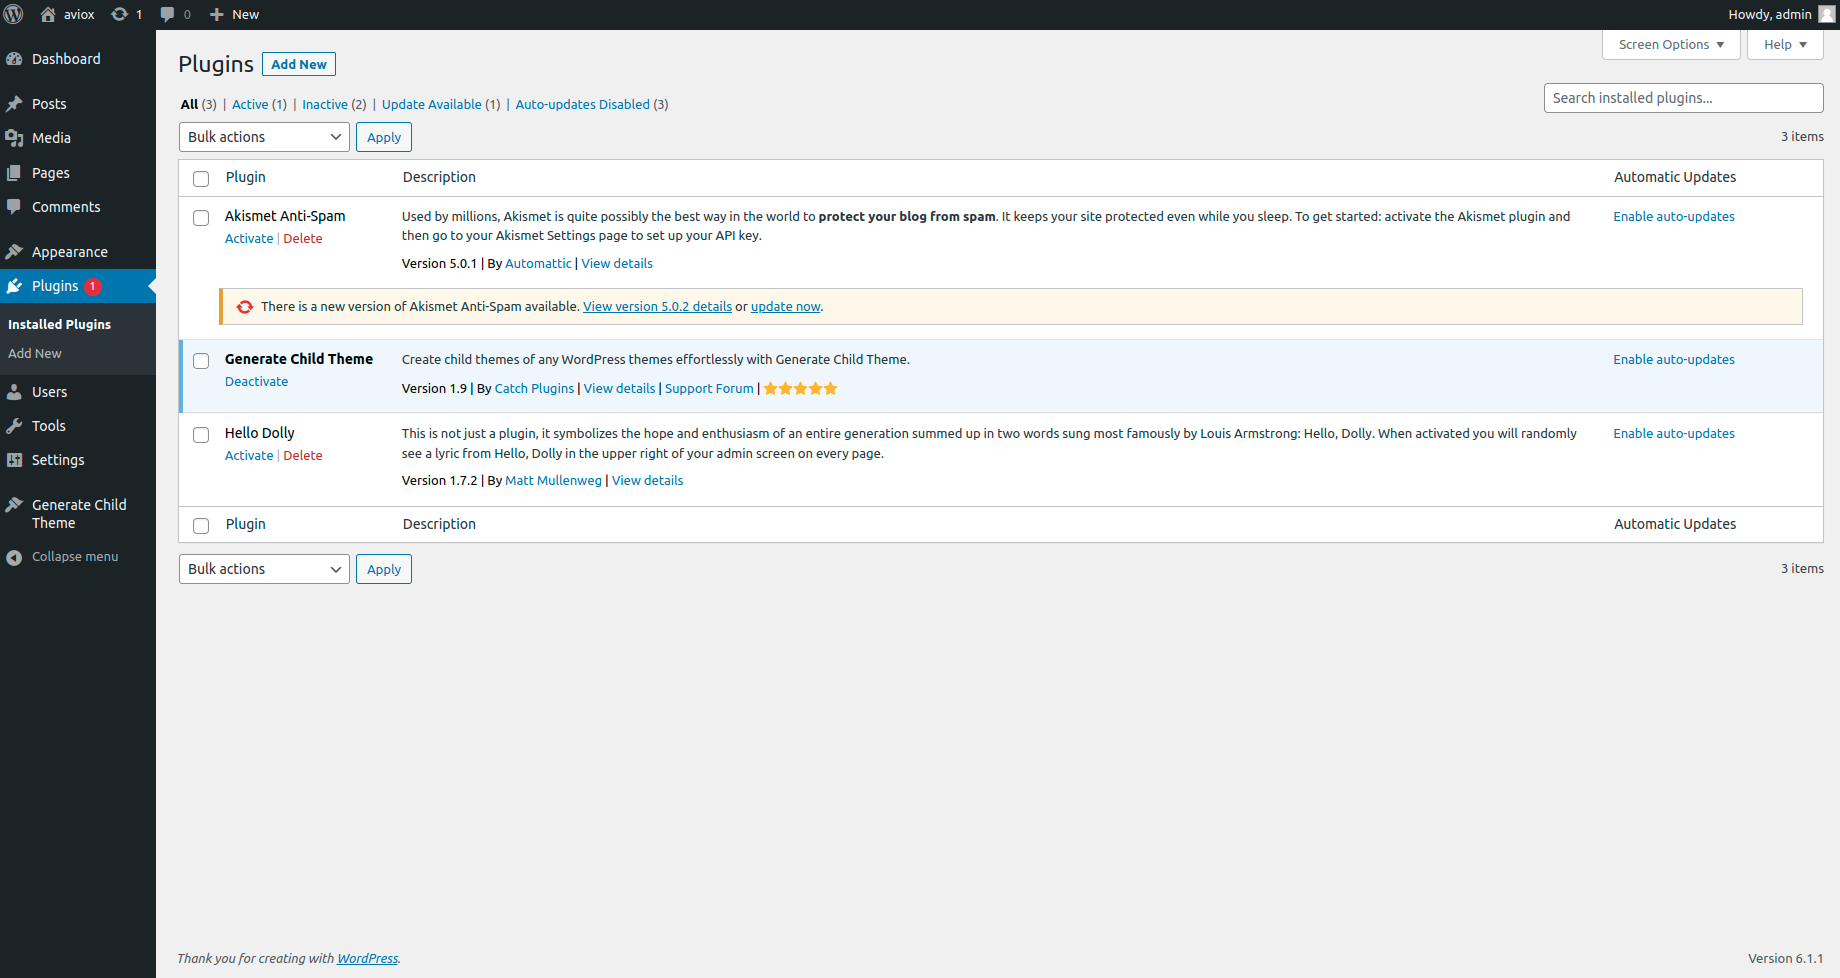
From here you can add plugins. I am using ACF plugin for website development. ACF stands for advance custom field :
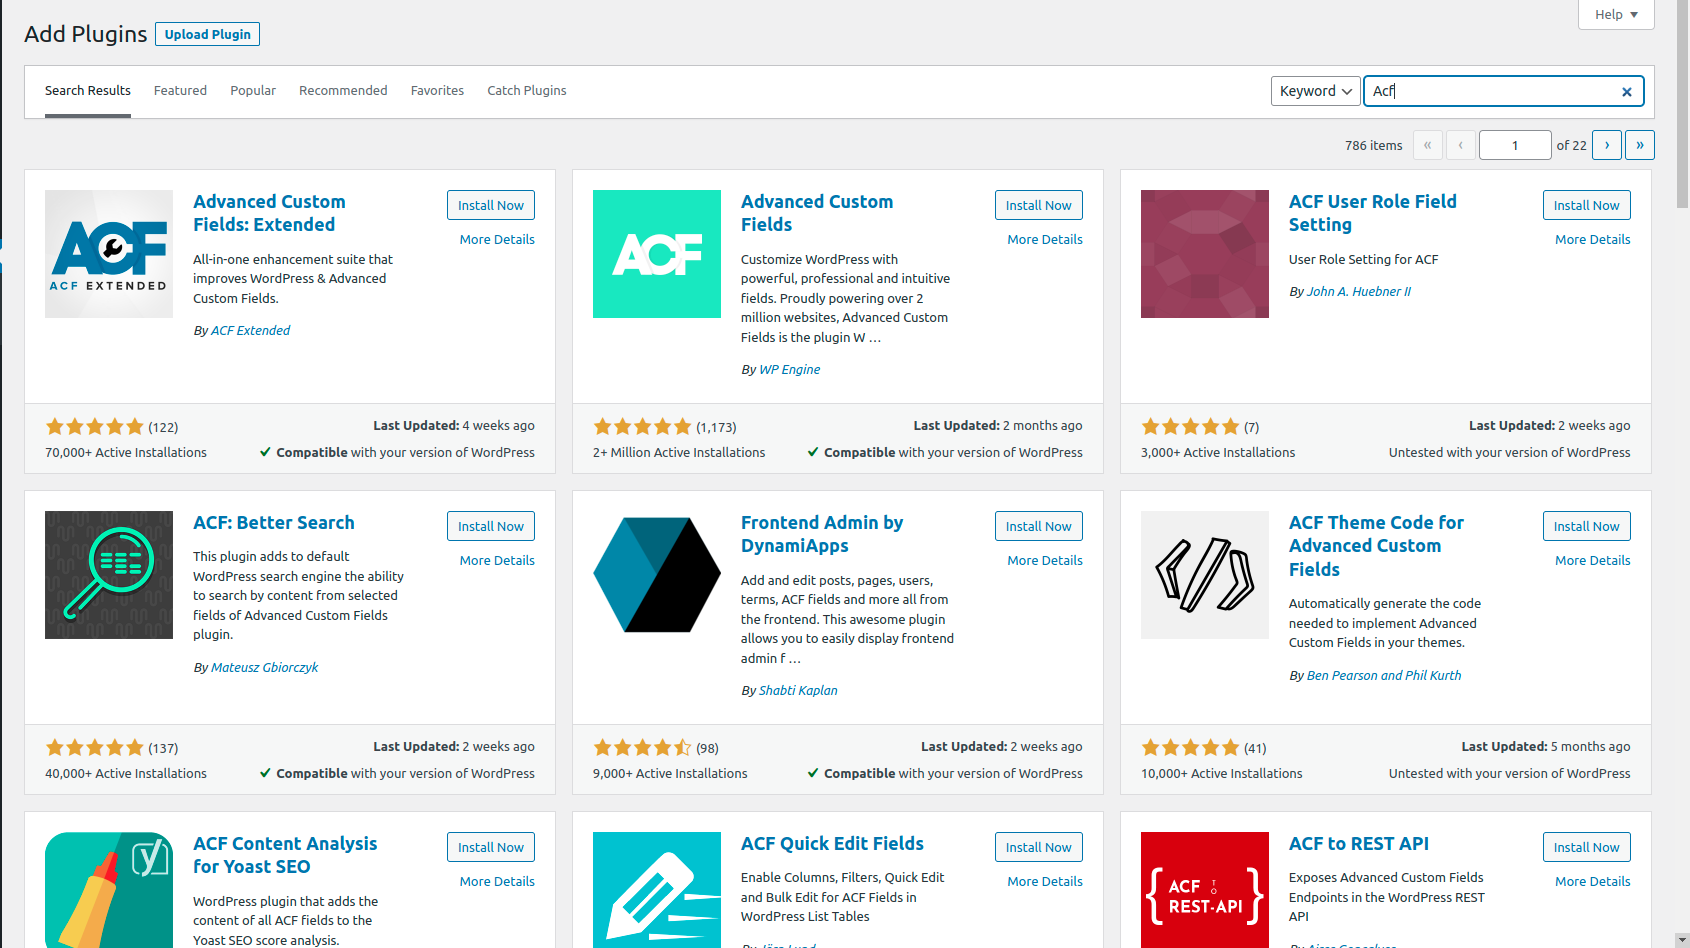
First you have to install it and then activate it. Or you can upload zip file of acf plugin.
I am already purchased pro of ACF plugin , because some features is missing in free version of ACF plugin. I am added in pro version of acf plugin and it show custom-fields in sidebar.
Integeartion of ACF plugin in site
I will show you how to integrate acf plugin and made site dynamic.
Here i am creating acf fields for home page . There are many options of fields type in acf but i am showing you some fields like title , description and banner images . Next you will learn How to create them , get them on page and show on page .
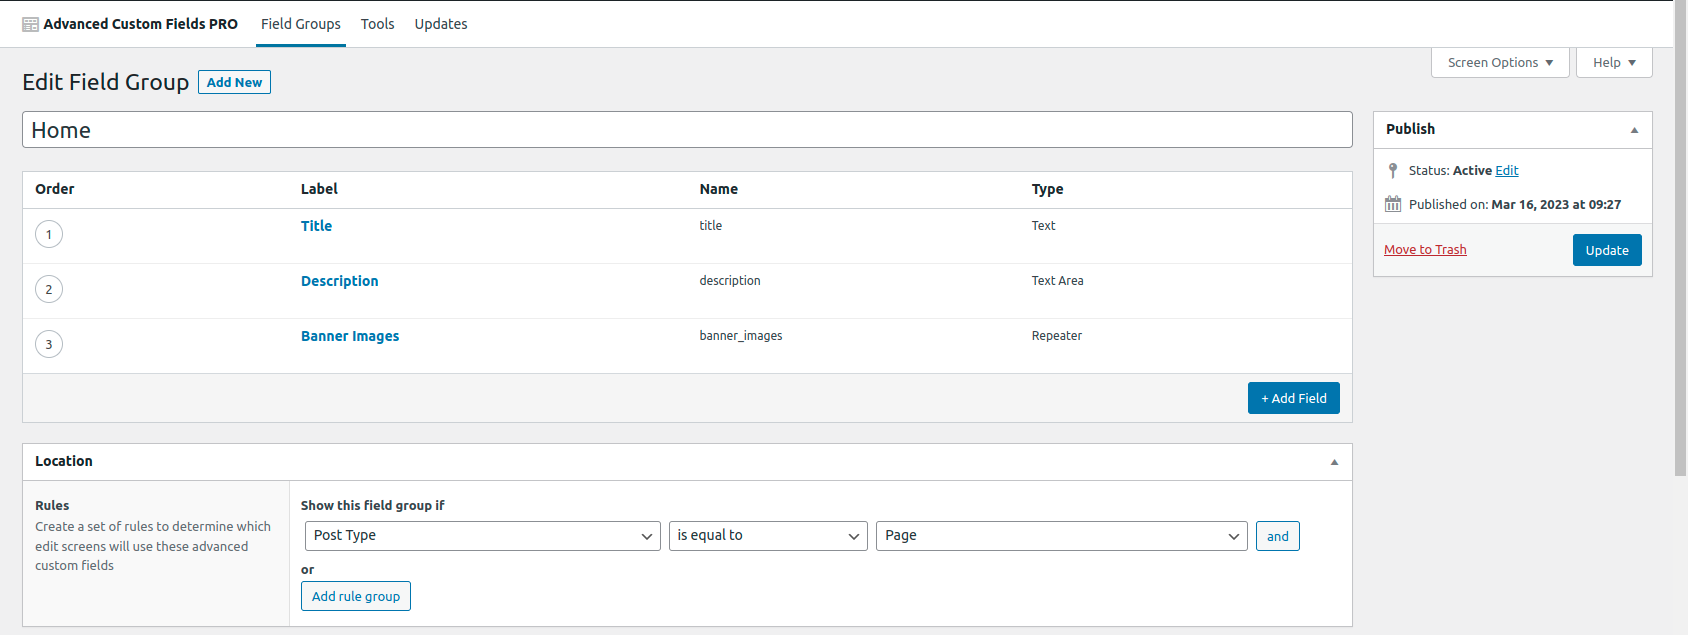
Create acf for home page
Here create acf fields for home page.
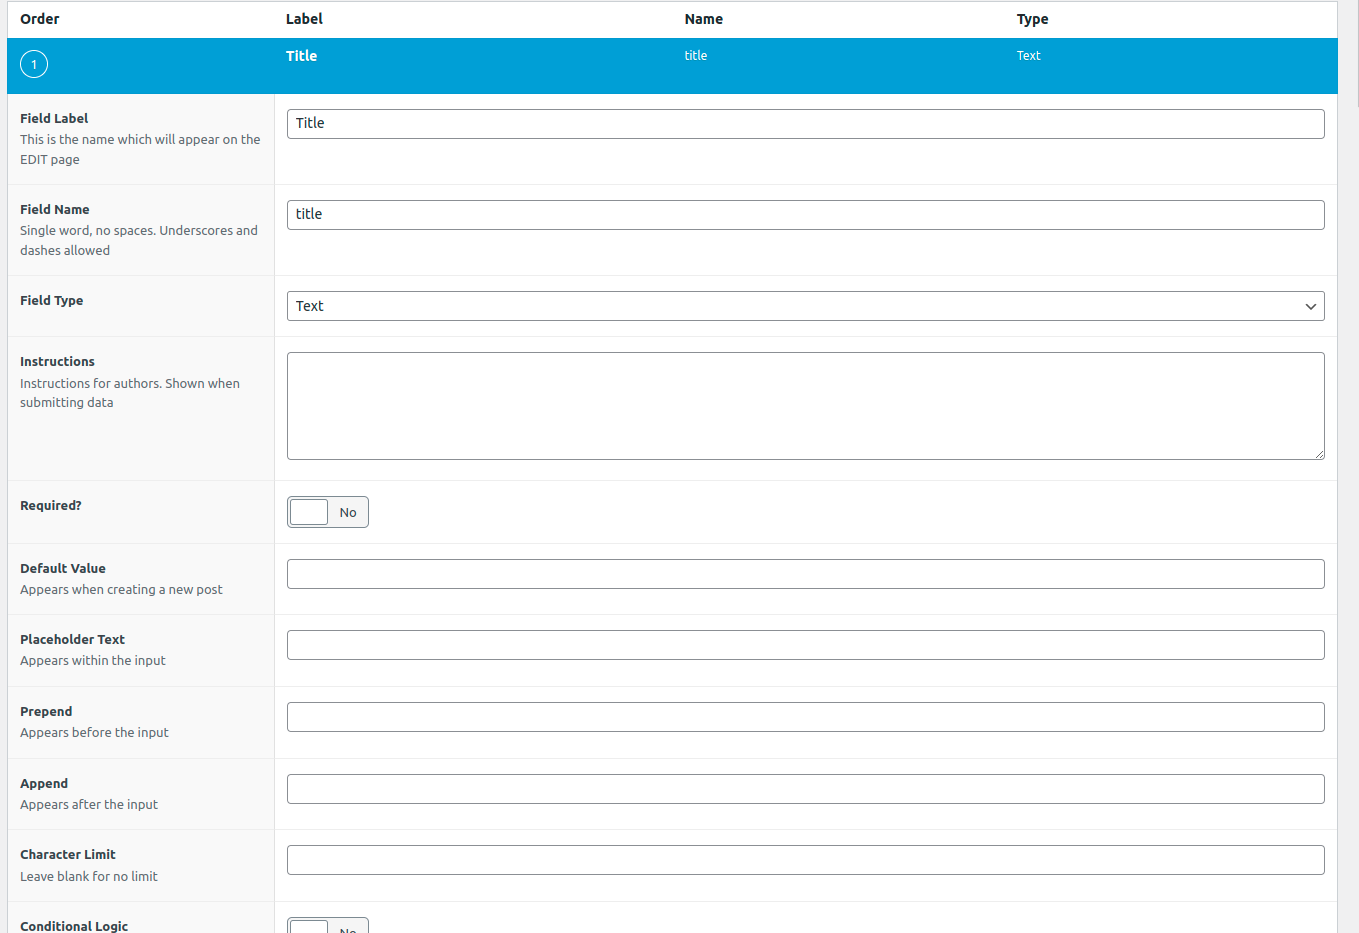
First is title -:
Here you see lable name title ,you can give field name according to your need.
After that field name this automatically generated but you can change it if you want.
Next is field type , there are so many filds type since we are using title , which is normally one word or one line. That was why we use text here.
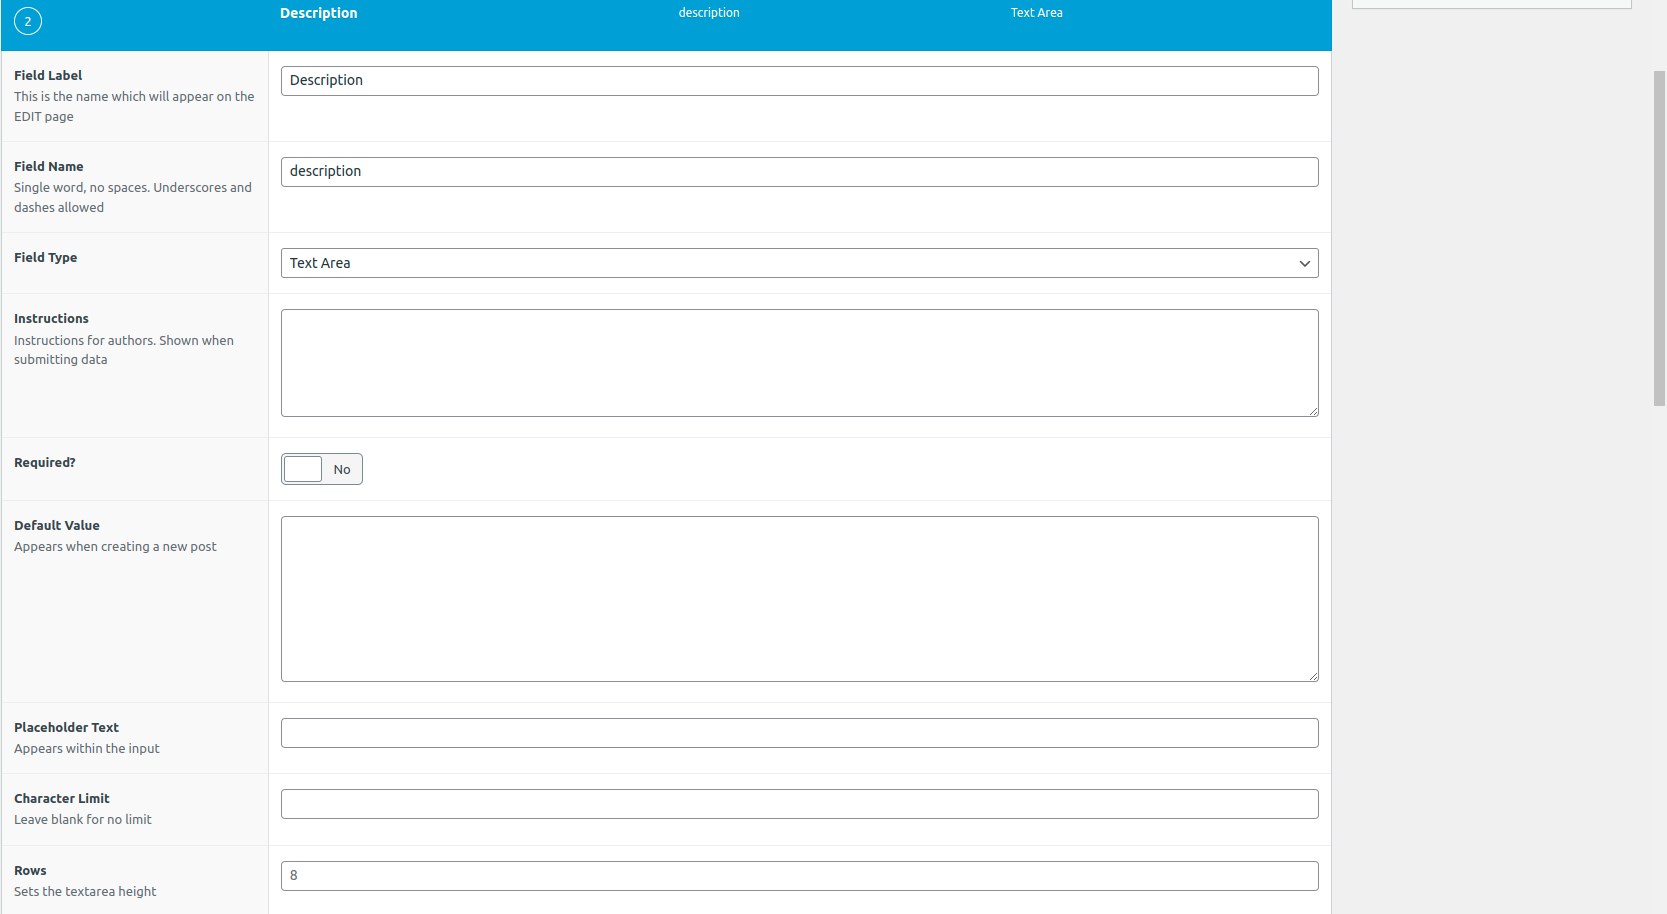
Second is description -:
Here is same lable name description ,you can give field name according to your need.
After that field name this automatically generated but you can change it if you want.
Next is field type , there are so many filds type since we are using description , which is normally a paragraph. That was why we use textarea here.
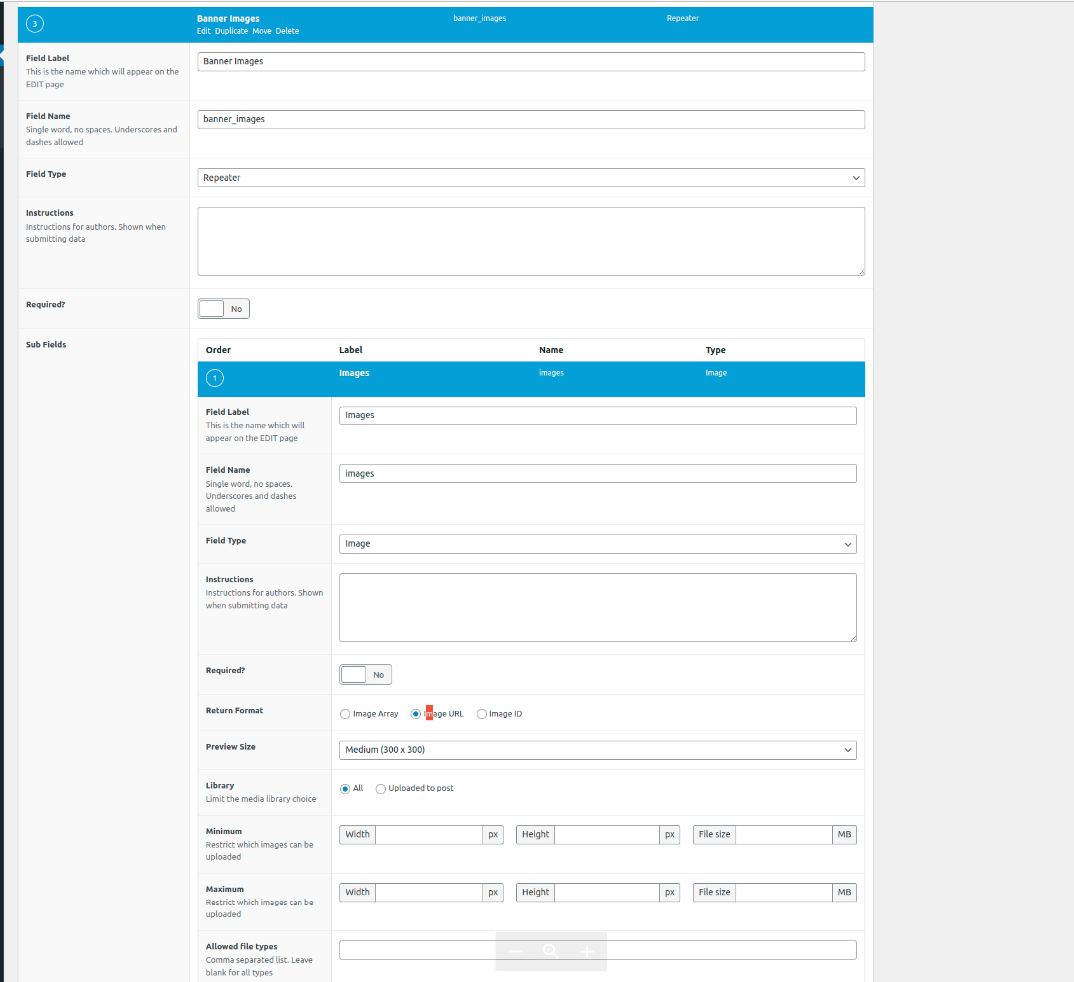
Third is multple images -:
Here is same lable Banner images ,you can give field name according to your need.
After that field name this automatically generated but you can change it if you want.
Next is field type , there are so many filds type since we are using multple images, that was why we use repeater here. In repeater you can add multple data for image , title etc but i am using here images. First you add field banner-image ,in this choose field type repeater then again add field which you want made multiple, Here you i will add images field , name it images , field type image and then will see option image array and image url . We choose imge url because it will gave us direct url of image.
In this way we add fields in ACF. Apart from it their are many fields which will use according to our need -:
- Text — Single-line text field with optional HTML support and character limit
- Text Area — Same as Text but with multiple lines
- Number — Number field that can have optional min/max values
- Email — Custom field for email input including validation
- Password — Password input with text masking
- WYSIWYG Editor — WordPress editor input with options for media insertion and editor buttons
- Image — Upload an image or select one from the media library. Returns an object, URL or ID.
- File — Same as image but for files in general
- Select — Drop-down menu with support for multiple selections
- Checkbox — Checkbox field for single or multiple items
- Radio Button — Pick a single item via radio button
- True / False — Basic true or false selector
- Page Link — Returns the URL of any post or page. Can be limited to specific post types.
- Post Object — Returns a WordPress object of any post or page, post type or taxonomy
- Relationship — Same as post object but with an advanced interface and reordering via drag and drop
- Taxonomy — Returns an object or ID for one or more taxonomies. Can be limited to tags, categories or custom taxonomy terms.
- User — Select one or more users. Option to limit choice by user role.
- Google Map — Set a center, zoom level and width
- Date Picker — Select a calendar date and return a formatted date string
- Color Picker — Select a hexadecimal color
- Message — Leave a message
- Tab — Combine fields into a tabbed interface
Get ACF on home page
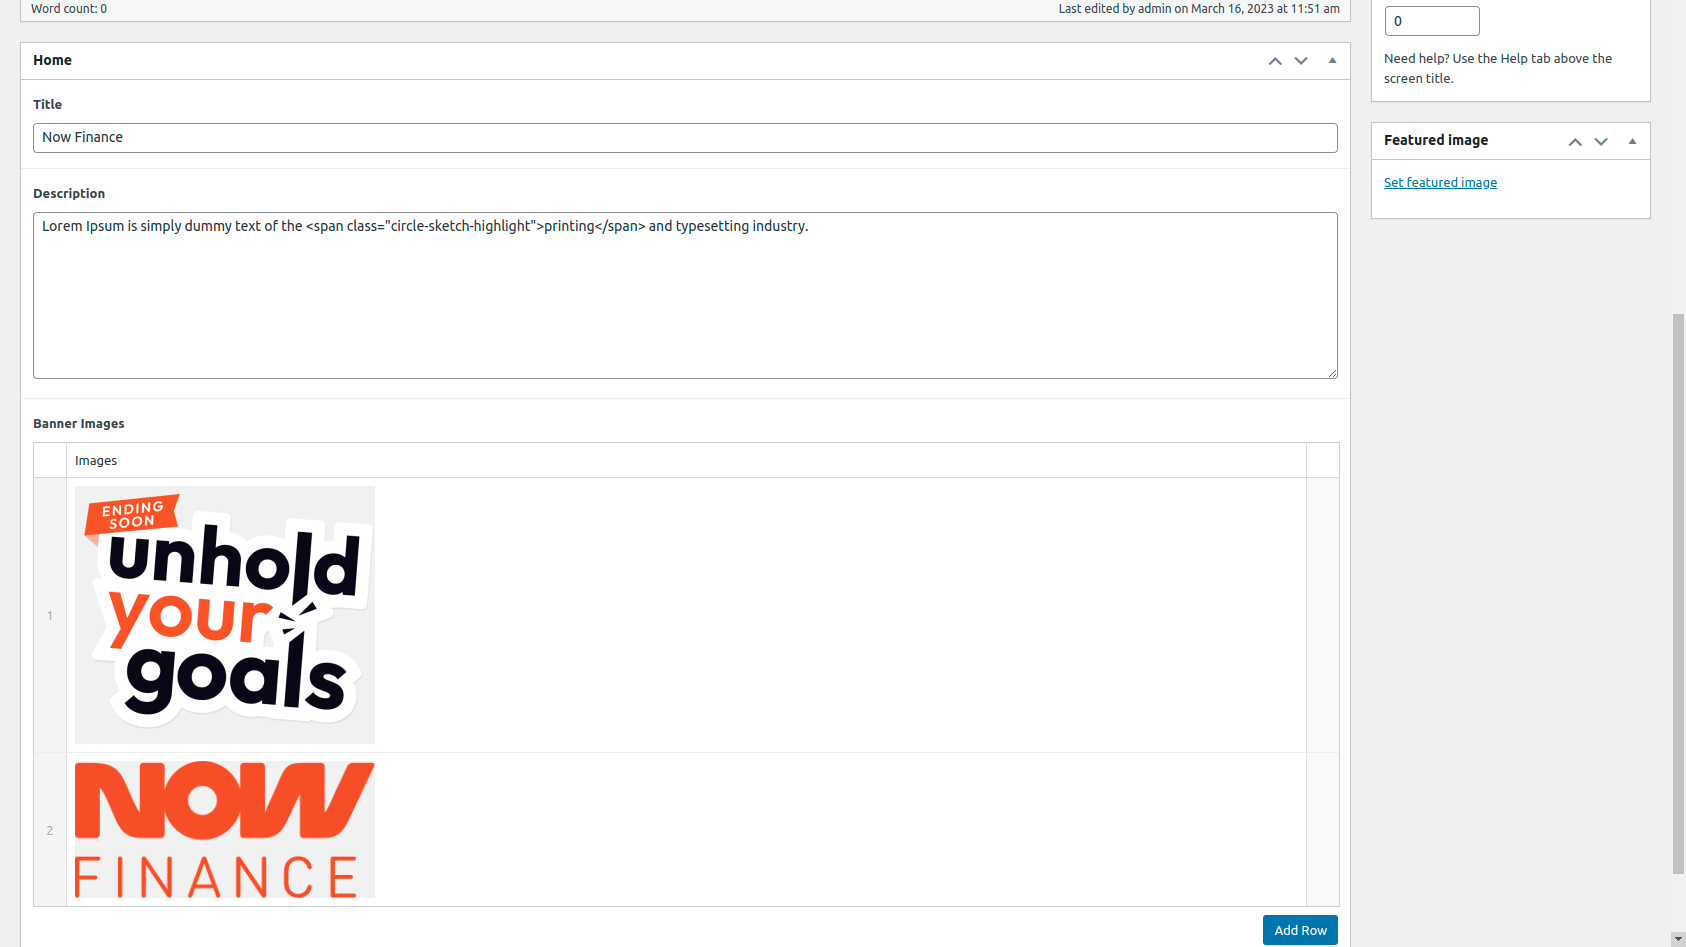
To get acf fields on home page, first you have to add data in home page . To add data open home page you will see fields that we made in acf plugin.
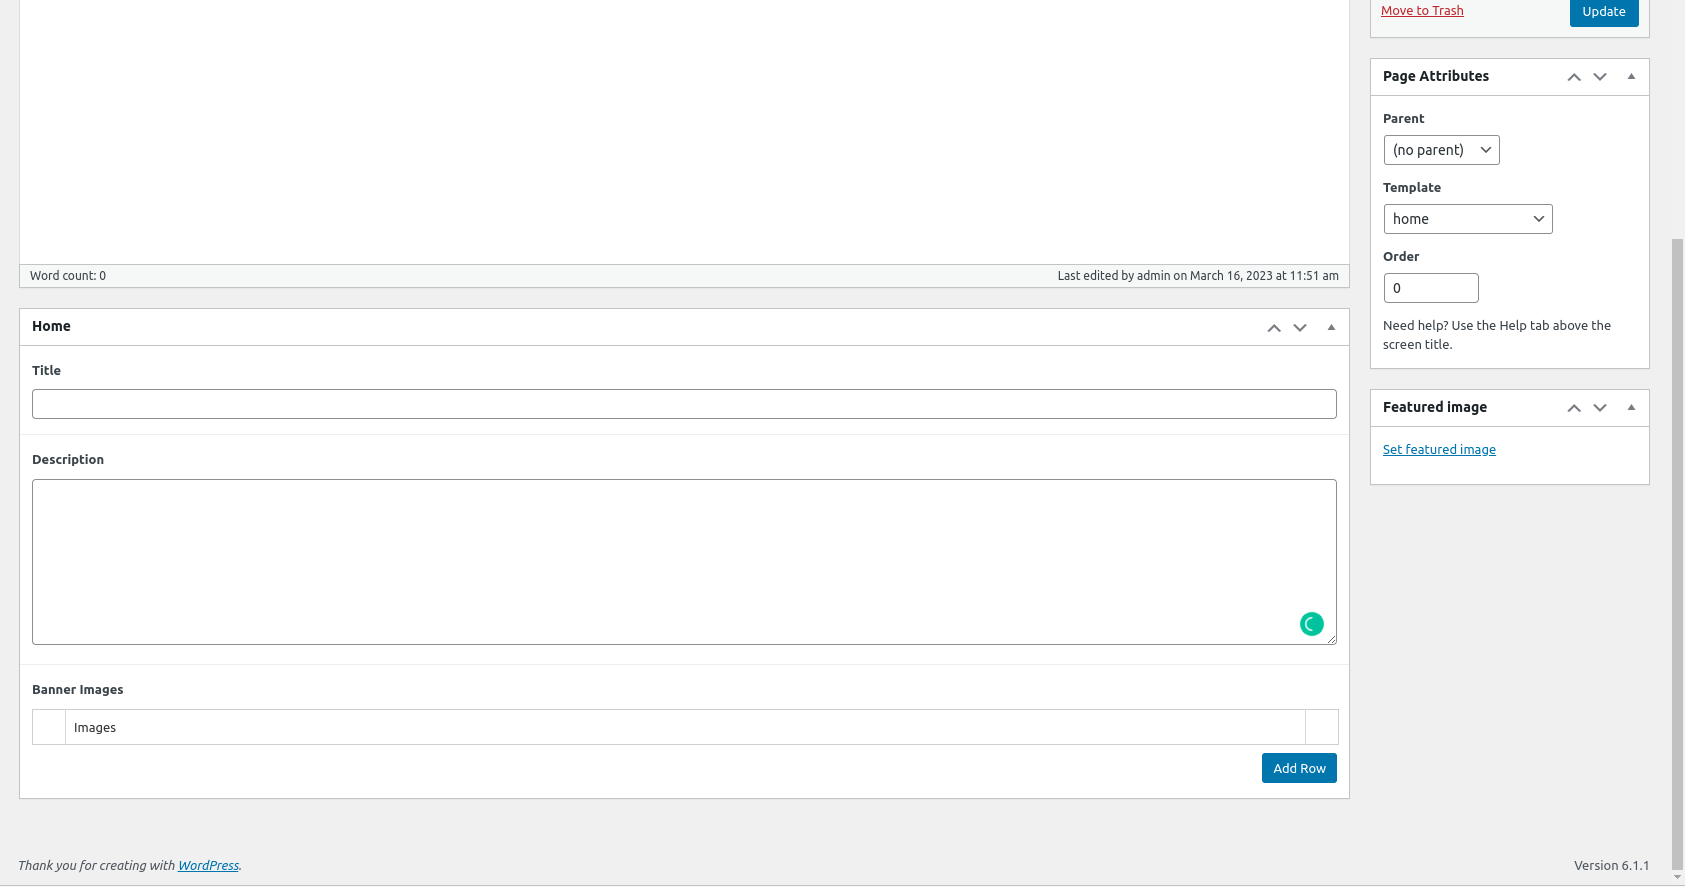
Now we have to add data in fields like title , description and multple images. I added data in home page like this-:
Their are many ways to get acf data like-:
Parameters
get_field($selector, [$post_id], [$format_value]);
$selector (string) (Required) The field name or field key.
$post_id (mixed) (Optional) The post ID where the value is saved. Defaults to the current post.
$format_value (bool) (Optional) Whether to apply formatting logic. Defaults to true.
Get a value from the current post
$value = get_field( “text_field” );
Get a value from a specific post
$value = get_field( “text_field”, 123 );
Now we are getting data on home page we use with current post
get_field( "text_field_name" );
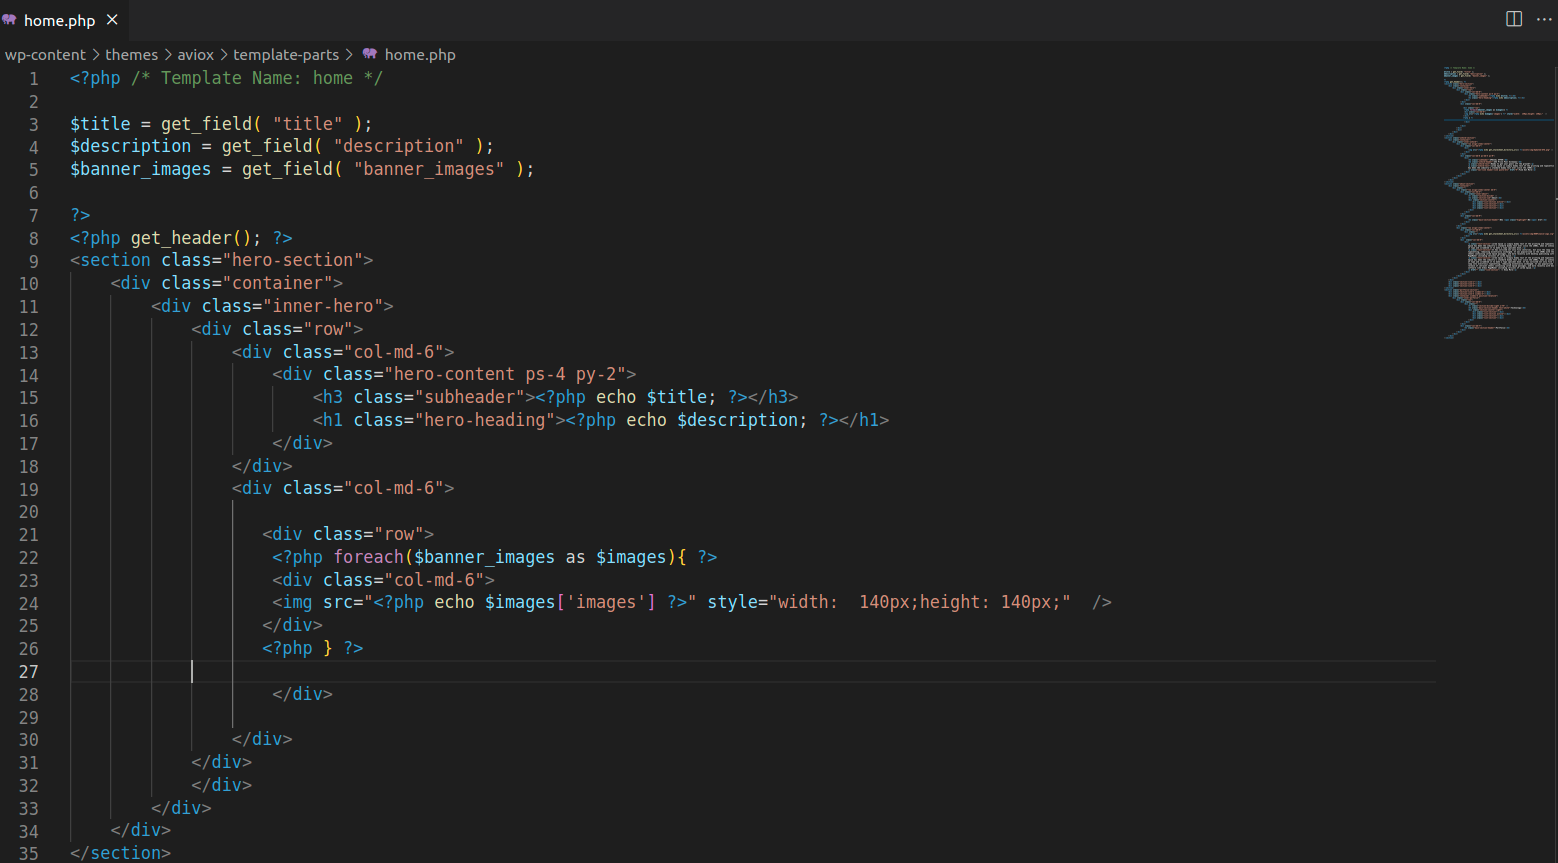
Here i have static html of banner of home page. I made it dynamic with acf fields.

Now get acf fields values on home of title , description and banner-images .
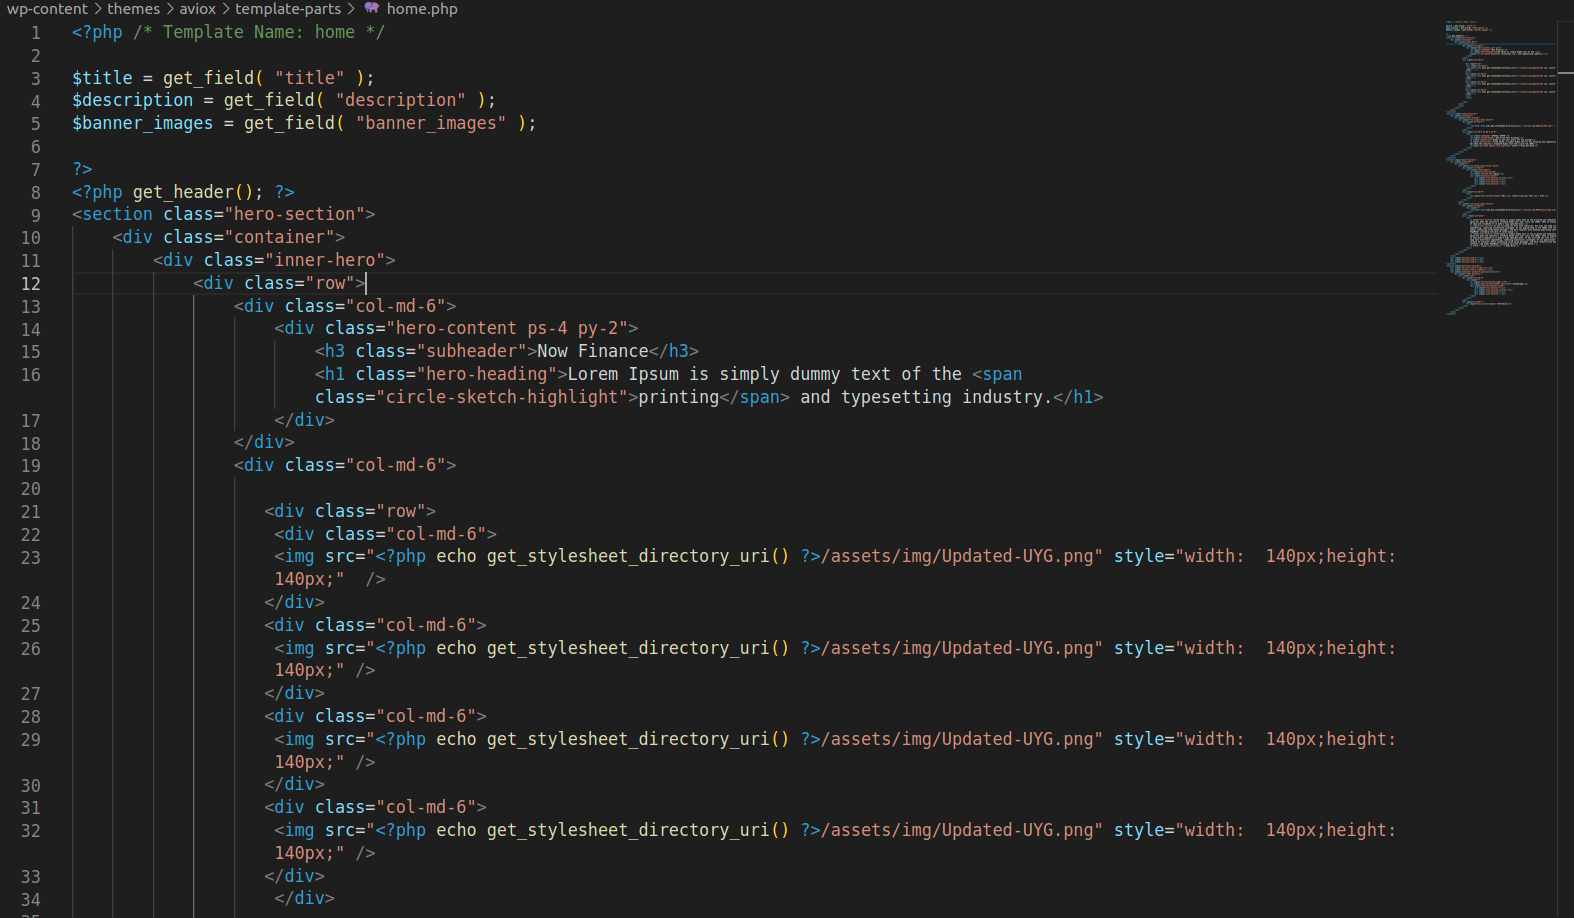
After getting now to show on home page like this -:
With this you can made every section of page dynamic. Using acf fields according to page design.
Pros and Cons of ACF plugin
The Advanced Custom Fields plugin allows you to add custom fields and field groups to WordPress edit screens in order to capture structured inputs. There is a feature rich free version and a Pro version that adds more capabilities which is ussing in our website.
Pros of ACF
- By using acf it is easy to made website dynamic.
- Their are many features in free ACf plugin which can be used easily.
Cons of ACF
Beside so many advantanges their is some limitations of acf .
- When we made comman section in acf , if their is some little change then we have to made same section with that change.
- Some important features is missing in free version.