How to Dockerize a Django Application

How to Dockerize a Django Application

Introduction

In this tutorial, you will dockerize a django application using Docker. Docker is an open platform for developing, shipping, and running applications. Docker provides the ability to package and run an application in a isolated environment called a container. Containers are lightweight and contain everything needed to run your application, so you do not need to rely on what is currently installed on the host(Your Machine).

Prerequisites:

You need following things to start work:

  1. Python3 installed
  2. Docker installed
  3. Postgresql installed

Step 1 β€” Create a virtual environment to isolate your app dependencies. On windows machine, you can install virtualenv module to create virtual environment and on linux, you can use venv module. I am using venv to create a virtual environment on my linux machine.

  $  python -m venv venv/

Step 2 – A folder named venv will be ceated on the location where you ran above command. Let’s activate the environment:

  $  source venv/bin/activate

Step 3 – Now that you are inside your virtual environment, let’s install dependencies that are required for this project:

  $  pip install django psycopg2-binary

Django is the framework that you will be using to develop your web app using python and psycopg2-binary is the python module which works as a adapter between postgresql and django.

Step 4 – In this step, you will start a new django project by using following command.

  $ django-admin startproject myproject

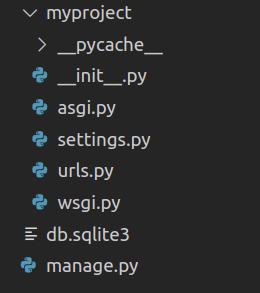
Now your project directory should look like this:

Step 5 – To test your application locally, First enter your project directory and run the server using following commands.

  $ cd myproject
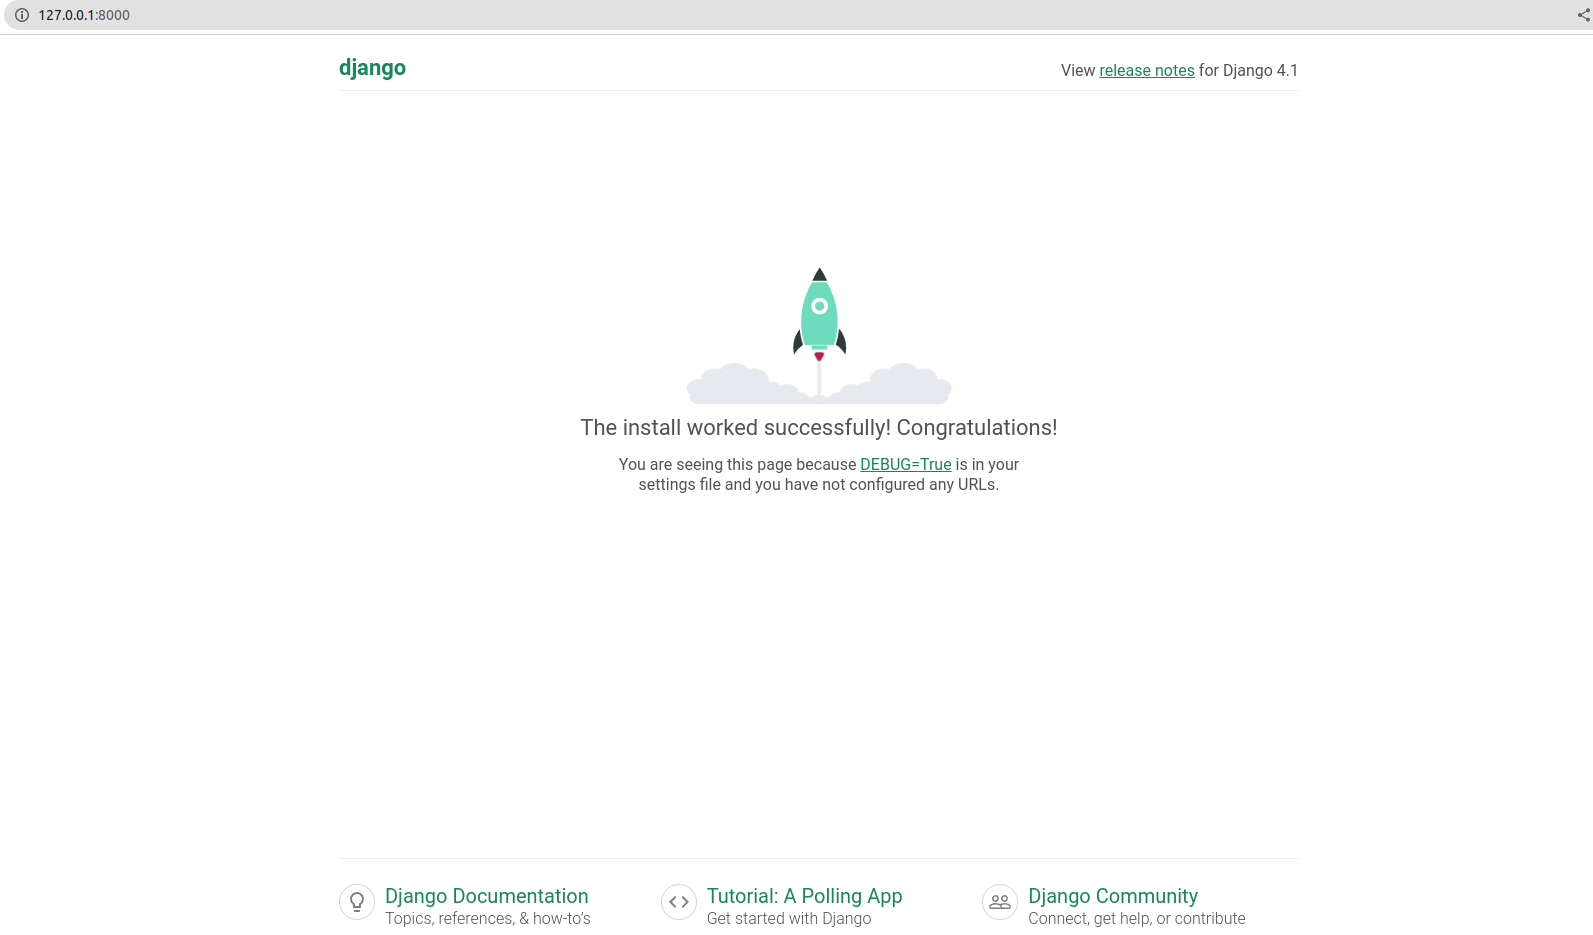
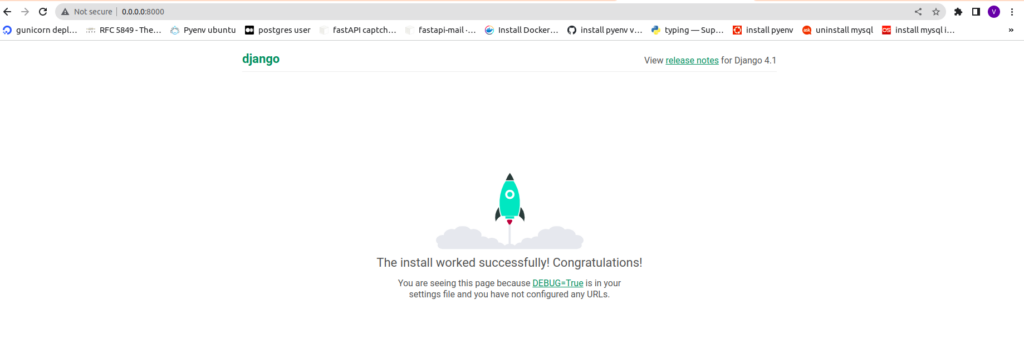
  $ python manage.py runserver

Step 6 – Navigate to http://localhost:8000/ to view the Django welcome screen. It should look like as shown in image:

Kill the server once done by pressing ctrl+z.

Step 7 – Now, you will create a requirements.txt file in your project’s root directory. Use below command to automatically create a requirements.txt and copy all dependencies in it.

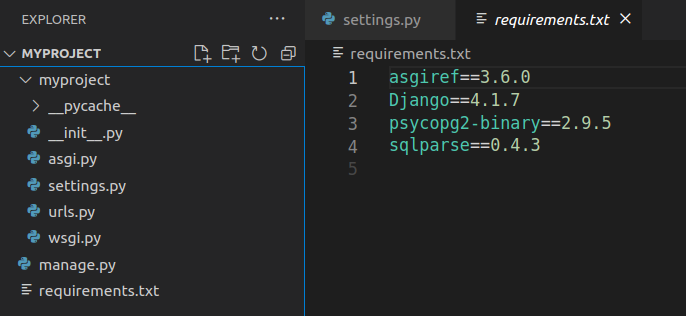
  $ pip freeze > requirements.txt

Your project dependencies should have been included in requirements.txt file as shown in image:

Step 8: Let’s deactivate the virtual environment using following command:

deactivate

Step 9 – Now, Delete the db.sqlite3 file from your project directory as you will use ‘postgres’ database for your django application in next steps

Step 10 – Let’s edit ‘ALLOWED_HOST’ in settings.py file present in myproject directory as shown in image:

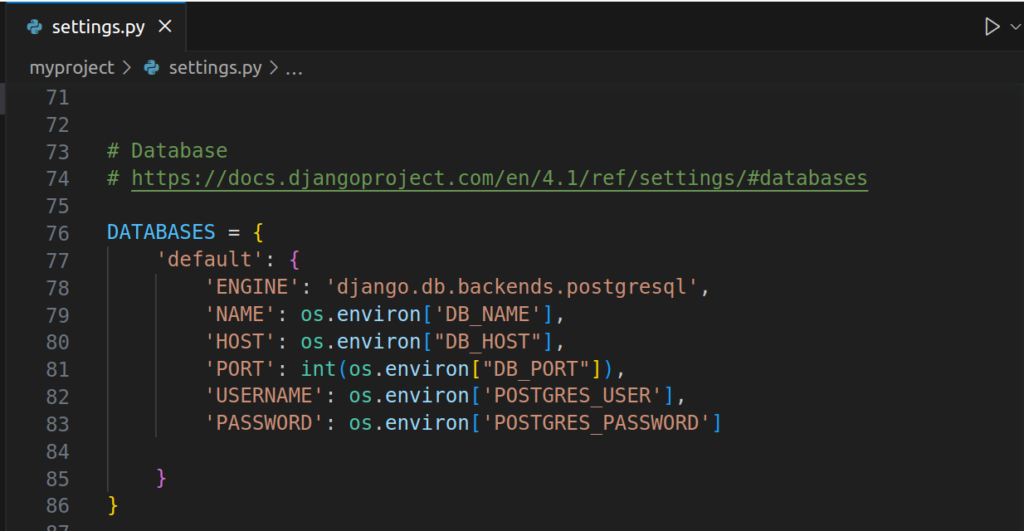
For now, You can set ALLOWED_HOST to ‘*’ to let the wsgi allow accepting http request from any domain but in production, this is not recommended.

Step 11 – Let’s edit database connection settings for postgres in settings.py file of django project. First, import os module and change the following lines in settings.py file as shown in image below:

Step 12 – In this step, you will create a Dockerfile in your project’s root directory and add the lines in it as shown in image:

Step 13 – Let’s create a docker-compose.yaml file in project’s root directory and add the following lines in it:

services:
  db:
    image: postgres
    ports:
      - "5432:5432"
    environment:
      - POSTGRES_USER=root
      - POSTGRES_PASSWORD=postgres
      - POSTGRES_DB=root
    healthcheck:
      test: pg_isready
      interval: 5s
      timeout: 10s
      retries: 120

  web:
    build: .
    command: python manage.py runserver 0.0.0.0:8000
    volumes:
      - .:/code
    ports:
      - "8000:8000"
    environment:
      - DB_NAME=root
      - DB_PORT=5432
      - DB_HOST=db
      - POSTGRES_USER=root
      - POSTGRES_PASSWORD=postgres
    depends_on:
      - db

  migration:
    build: .
    command: python manage.py migrate --noinput
    volumes:
      - .:/code
    environment:
      - DB_NAME=root
      - DB_HOST=db
      - DB_PORT=5432
      - POSTGRES_USER=root
      - POSTGRES_PASSWORD=postgres
    depends_on:
      - db

It should look like below:

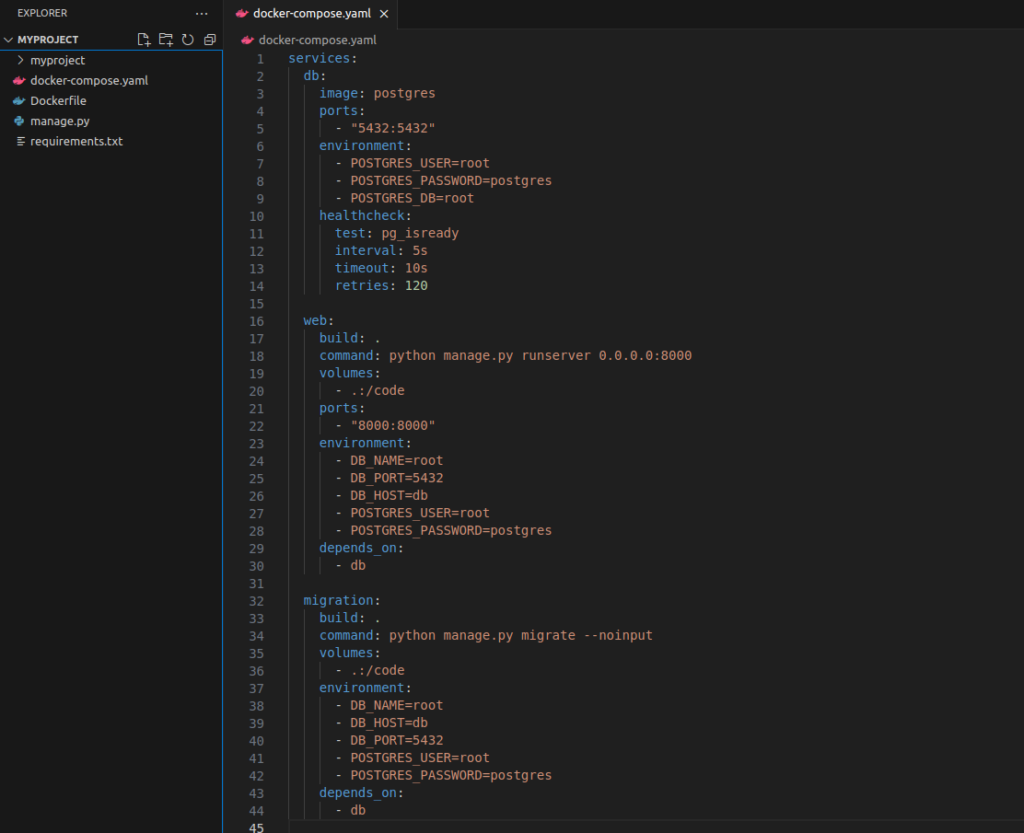
In docker-compose.yaml file, you define your services to be served inside your docker containers with specific syntax which docker will use to read and manage execution of defined services.

Step 14 – Finally, Run your django app using below command:

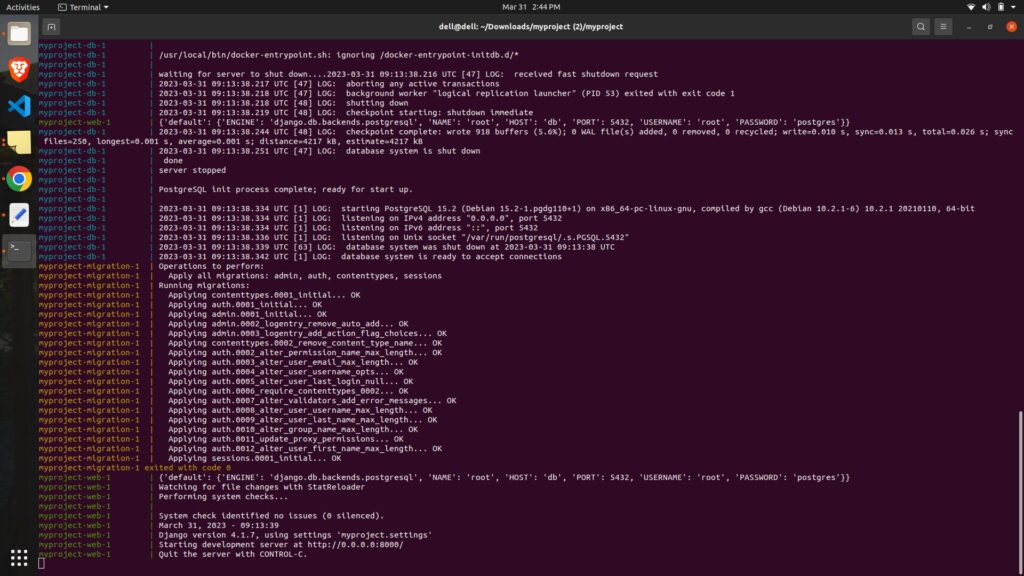
docker compose up --build

Step 15 – You will see the output in terminal as shown below:

Congratulations!, You have successfully dockerized a django app. Go to http://0.0.0.0:8000 to see the homepage of your django app as shown in image:

Tags:
  • Share On
Image

Get In touch

Your Concept, Our Intelligence β€”
Let’s Build Better

Our Testimonials:

Image Image


    I'm looking for a help with:*


    Project budget (in USD)*


    Scroll to Top