Introduction
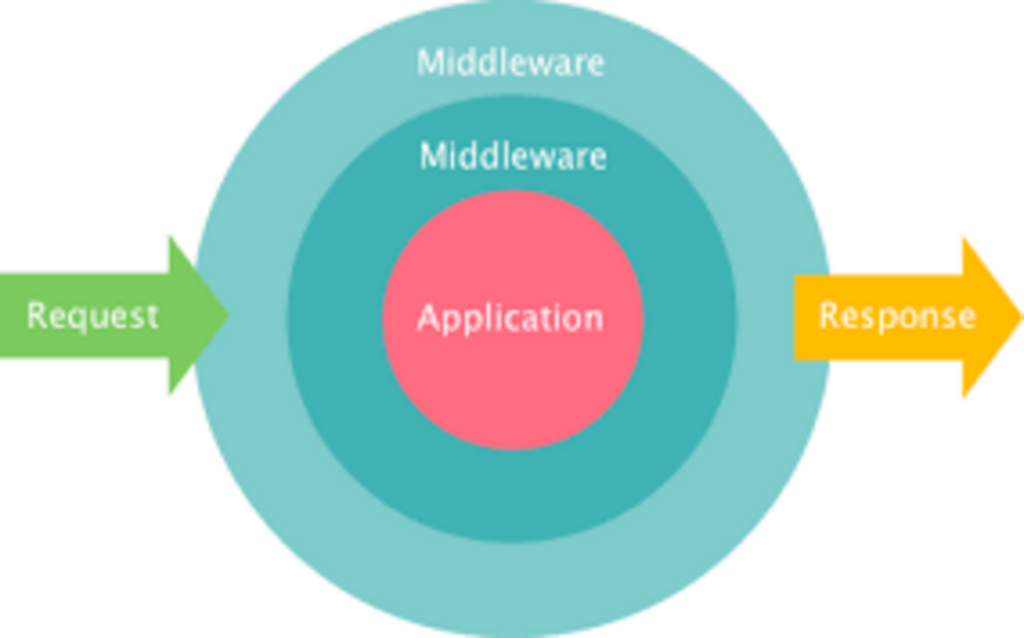
In this tutorial we will use custom middleware in our django application.Middleware in Django is a way to process requests and responses globally before they reach the view or after they leave the view. It allows you to add functionalities or perform operations that are applied to every request/response cycle in your Django application. Middleware sits between the web server and the view, intercepting and modifying requests and responses.
Prerequisites:
You need following things to start work:
- Python3 installed
- Postgresql installed
- Django installed
Step 1 — Create a virtual environment to isolate your app dependencies. On windows machine, you can install virtualenv module to create virtual environment and on linux, you can use venv module. I am using venv to create a virtual environment on my linux machine.
Step 2 – A folder named venv will be ceated on the location where you ran above command. Let’s activate the environment:
Step 3 – Now that you are inside your virtual environment, let’s install dependencies that are required for this project:
Django is the framework that you will be using to develop your web app using python and psycopg2-binary is the python module which works as a adapter between postgresql and django.
Step 4 – In this step, you will start a new django project by using following command.
Step 5- First enter your project directory and start a new django application by following command
In next step we will install djangorestframework to use rest framework in our project
Step 6- Install djangorestframework using this command
Now your project directory should look like this:
Step 7 – To test your application locally, First enter your project directory and run the server using following commands.
$ cd myproject
$ python manage.py runserver
Step 8 – Navigate to http://localhost:8000/ to view the Django welcome screen. It should look like as shown in image:
